 Lynden Siding
 Siding Built for Aldergrove's Side of the Border
Aldergrove sits just across the line from Lynden, close enough that the weather doesn't know the difference. Homes here deal with the same marine air pushing in off the Salish Sea, the same long stretches of driving rain, and the same shaded, damp corners where moss takes hold and never really leaves. If you own a home in or around Aldergrove, your siding is doing real work every day of the year — not just holding paint or looking good from the road.
We install siding on both sides of the Lynden–Aldergrove crossing, which means we see the same houses, the same exposures, and the same failure patterns over and over. That repetition matters. A crew that only shows up once a year misses the patterns; a crew that works this corridor regularly knows exactly where water tends to get in and exactly what holds up against it.
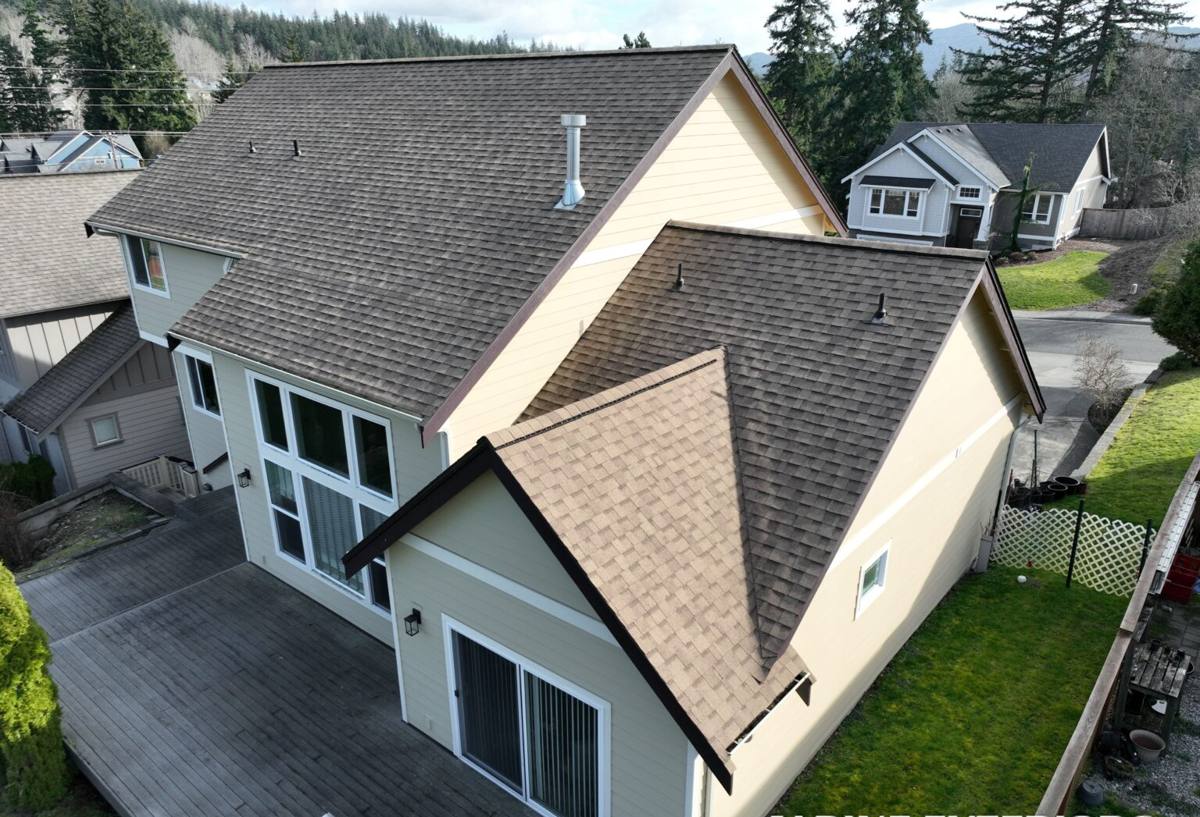
What Whatcom County's Climate Actually Does to Siding
This isn't a dry climate with the occasional storm — it's a wet climate with occasional dry stretches. That distinction changes how siding should be installed, not just what it's made of.
Salt Air
Homes closer to the water carry salt-laden moisture inland on prevailing winds. Salt air accelerates corrosion on exposed fasteners and speeds up the breakdown of finishes that aren't built to handle it, which shows up as chalking, fading, or rust streaking well before a siding product's expected lifespan is up.
Driving Rain
Rain here doesn't just fall — wind pushes it sideways into wall assemblies, seams, and corners. Siding that isn't lapped, flashed, and fastened correctly for wind-driven rain will let water track behind the cladding long before anyone notices a problem on the surface.
Moss Season
Shaded north sides, tree cover, and long stretches of overcast, damp weather give moss and algae months to establish themselves on siding surfaces. Beyond the cosmetic issue, moss holds moisture directly against the material, which is a slow but steady way to shorten the life of anything that isn't moisture-resistant at its core.
What a Correct Siding Installation Actually Involves
Siding is a system, not a single product nailed to a wall. On a home in Aldergrove's climate, every layer of that system has to do its job or the whole assembly underperforms.
- Weather-resistive barrier: A continuous, properly lapped water barrier behind the siding, not just wrapped and stapled loosely.
- Flashing at every penetration: Windows, doors, hose bibs, vents, and any other wall penetration need flashing detailed to shed water outward, not into the wall cavity.
- Correct fastening: Fastener type, spacing, and depth matter — over-driven or under-driven fasteners are one of the most common causes of premature siding failure.
- Proper clearances: Siding held off the ground, decks, and roof lines at the manufacturer's specified gap so it isn't sitting in standing water or trapped moisture.
- Ventilated rainscreen gap where called for: A small air gap behind the siding lets any moisture that does get in dry out instead of sitting against the wall sheathing.
Skip any one of these and the siding might still look fine for a year or two — but in a climate that rains as much as this one does, shortcuts show up eventually, usually as rot, staining, or soft spots that cost far more to fix than they would have to do right the first time.
Why We Install James Hardie Fiber Cement — and Nothing Else
We made a deliberate decision to install only James Hardie fiber cement siding, and we don't install vinyl, LP SmartSide, or other fiber cement alternatives. That's not a marketing angle — it's a standard we hold because of what this climate does to lesser products over time.
Fiber cement is non-combustible, doesn't swell or rot the way wood-based products can when moisture gets past a seam, and holds paint and color far longer than vinyl in a climate with this much UV-and-rain cycling. James Hardie's HZ5 product line is specifically engineered for the cold, wet Pacific Northwest, and the factory-applied ColorPlus finish is baked on under controlled conditions rather than field-painted, which matters when you're dealing with salt air and moss growth working against a finish year-round.
We're not going to tell you every other siding product is a bad product. We are going to tell you that after years of doing this work in this specific climate, Hardie is the one we're willing to put our name behind and back with a real installation warranty.
Our Installation Process
1. On-Site Assessment
We walk the home, check the current siding and the condition of the sheathing underneath where accessible, and look specifically at north-facing walls, shaded areas, and anywhere moss or staining has already appeared.
2. Tear-Off and Inspection
Old siding comes off in sections so we can inspect the water barrier and sheathing as we go, not just replace the visible surface and hope what's underneath is fine.
3. Repair What's Underneath
Any sheathing damage, rot, or compromised framing gets addressed before a single piece of new siding goes up. Covering a problem is not the same as fixing it.
4. Weather Barrier and Flashing
A new, continuous weather-resistive barrier goes on, with flashing detailed at every window, door, and penetration to shed wind-driven rain outward.
5. Hardie Installation to Manufacturer Spec
Panels or lap siding go up with correct fastener spacing, proper clearances at grade and roof lines, and attention to every seam and corner — the details that determine whether the siding performs for its full expected lifespan or fails early.
6. Final Walkthrough
We walk the finished job with you, point out what was done and why, and make sure you know what basic maintenance (if any) is expected going forward.
Signs Your Current Siding Is Losing the Fight
Homeowners often wait too long on siding because the damage isn't obvious from the street. Here's what to actually check:
- Soft or spongy spots when you press on the siding, especially near the bottom edges
- Persistent moss or algae that comes back within weeks of cleaning
- Paint or finish that's peeling, bubbling, or chalking heavily on one side of the house
- Visible gaps, warping, or buckling at seams and corners
- Water stains or discoloration on interior walls near exterior corners
- Fasteners that are rusting, popping out, or leaving streaks down the siding face
Any one of these can be a minor fix. Several at once usually means the underlying system — not just the surface — needs attention.
What Drives the Cost of a Siding Installation
Every home is different, but the same handful of factors tend to move the price up or down. Use this as a general guide, not a quote — actual numbers depend on your specific home.
| Factor | Why It Matters |
|---|---|
| Home size and number of stories | More square footage and taller walls mean more material, more labor, and more staging/scaffolding needs. |
| Tear-off vs. new construction | Removing and disposing of old siding, plus repairing whatever's found underneath, adds time compared to new-build installs. |
| Extent of hidden damage | Rotted sheathing or framing discovered during tear-off has to be repaired before new siding goes on. |
| Trim, corners, and architectural detail | Homes with more corners, dormers, and trim work take longer to detail correctly than a simple rectangular footprint. |
| Product line and profile chosen | Lap siding, panel systems, and shingle-style profiles each have different material and labor costs. |
| Access and site conditions | Steep lots, tight setbacks, or limited equipment access can add time to any job. |
Why Hiring a Crew That Already Works This Area Matters
Aldergrove and Lynden share a border crossing, a climate, and a lot of the same housing stock from similar eras. A crew that regularly works both sides of that line has already seen how local homes age, which exposures fail first, and which details actually matter versus which ones are just spec-sheet boilerplate.
That familiarity shows up in small but real ways: knowing which walls in this area take the worst of the wind-driven rain, recognizing early moss patterns before they become a moisture problem, and not needing to relearn the region's climate behavior on your dime. It also means we're not disappearing after the job — we're still working in the neighborhood next month and next year if you have a warranty question or a follow-up concern.
A Homeowner's Checklist Before Hiring Anyone for Siding Work
- Ask what siding material they install and why they chose it — and whether they install more than one brand or product type
- Ask specifically how they handle flashing and water barrier detailing, not just "what siding do you use"
- Ask whether they inspect and repair sheathing during tear-off or just cover what's there
- Confirm licensing, insurance, and whether the manufacturer's warranty requires a certified installer
- Ask how many jobs they've done in your specific area and climate zone
- Get the scope of work in writing before any deposit changes hands
If your Aldergrove-area home is due for new siding, or you're seeing early signs of moss, moisture, or wear, we're happy to take a look and walk you through what we'd recommend — no pressure, no obligation. Reach out below for a free estimate.