 Lynden Siding
 New-Construction Windows in Kendall: Building the Weather Barrier Right the First Time
When a home in Kendall is framed and ready for windows, that installation is one of the most important weatherproofing steps in the entire build. Get it right and the window openings will shed water for decades without a second thought. Get it wrong — even in small, hard-to-see ways — and you end up with rot inside wall cavities that nobody notices until siding or drywall comes off years later. New-construction window installation is fundamentally different from a replacement job, and it deserves a crew that treats it that way from the first sill pan to the final bead of sealant.
We install new-construction windows for builders, general contractors, and owner-builders working in and around Kendall, and we approach every opening the same way: as a system, not a product. The window itself is only one piece. How it ties into the weather-resistive barrier, the flashing, and the framing determines whether the wall actually stays dry.
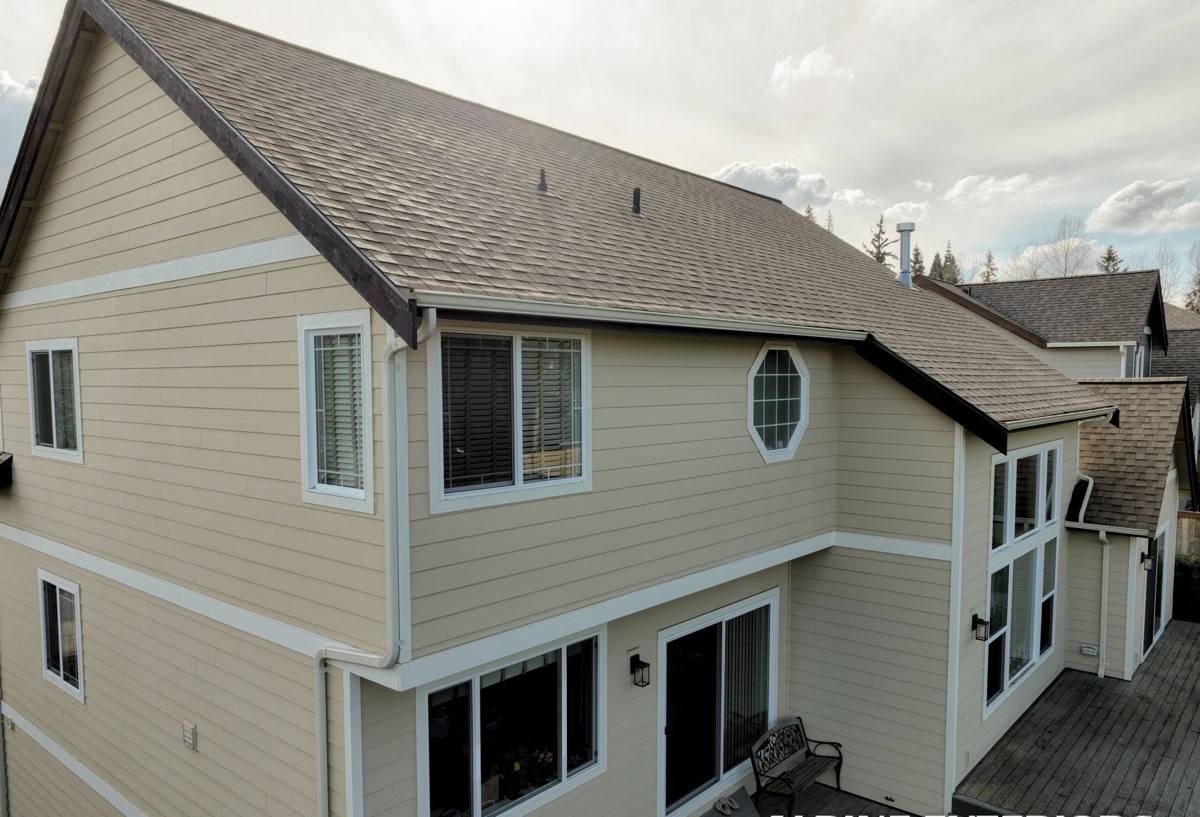
Why Kendall's Climate Makes Window Installation Details Matter
Whatcom County homes deal with a long wet season, driving rain that comes in sideways during winter storms, and stretches of damp, low-light weather that keep moisture sitting against exterior surfaces for months at a time. Moisture-laden marine air moves inland off the Sound and settles into the lowlands, and it doesn't take much of a gap in flashing for that moisture to find its way behind the cladding. Add in the moss and algae growth that shows up on north-facing walls and shaded eaves during our long wet stretch, and you have a climate that is unforgiving of shortcuts.
New-construction windows in Kendall need to handle three things well:
- Wind-driven rain hitting the window and running down the wall, not into it
- Long periods of sustained dampness that will find any unsealed seam eventually
- Seasonal temperature swings that cause materials to expand, contract, and eventually work sealant and fasteners loose if the install wasn't done correctly
None of this is unique to Kendall specifically, but it's a real and constant condition across this part of Whatcom County, and it's exactly why the installation details below aren't optional extras — they're the baseline for a window opening that will actually perform.
New-Construction vs. Replacement Windows: Why the Job Is Different
A lot of homeowners assume window installation is window installation. It isn't. In a replacement project, the existing window frame, trim, and siding are usually left in place, and the new window is fit into an opening that's already weathered-in. In new construction, we're working with a bare rough opening, exposed sheathing, and a weather-resistive barrier that hasn't been penetrated yet. That's actually an advantage — it means we can build the flashing system correctly, in the right order, instead of working around what's already there.
| Factor | New-Construction Install | Replacement Install |
|---|---|---|
| Window type used | Nail-fin (flange) windows, typically | Block-frame or insert windows |
| Flashing access | Full access to sheathing and WRB | Limited to existing opening |
| Sequencing | Tied into framing and siding schedule | Standalone project, any time of year |
| Sill pan installation | Built into open rough opening | Often retrofitted around existing sill |
| Long-term risk if done wrong | Hidden rot inside a sealed wall | Usually shows up faster around the frame |
Because the wall isn't closed up yet, mistakes made during new-construction window installation tend to stay hidden the longest — sometimes for a decade or more — before they surface as soft trim, stained drywall, or a musty smell near an exterior wall. That's the real argument for doing it correctly the first time.
What a Correct New-Construction Window Installation Actually Involves
Sill Pan and Sloped Sill
Every rough opening should get a sloped sill pan before the window ever goes in. This is a shaped barrier at the bottom of the opening that catches any water that gets past the window — whether from wind-driven rain or condensation — and directs it back outside instead of letting it pool against the sheathing. In a climate with as much sustained rainfall as ours, skipping the sill pan or installing it flat instead of sloped is one of the most common causes of hidden rot we see when we're called in to fix someone else's work.
Flashing and Weather-Resistive Barrier Integration
Flashing has to be layered correctly — sill flashing first, then the window's nailing flange, then jamb flashing, then head flashing, each one overlapping the layer below it like shingles on a roof so water is always directed outward and downward. The weather-resistive barrier gets integrated into that same sequence, with the housewrap cut and lapped so it sheds water over the flashing rather than behind it. Get this order backward — even on one side — and you've built a spot where water gets funneled directly into the wall instead of away from it.
Nail-Fin Window Attachment
Most new-construction windows in this area use a nail-fin (flange) frame that attaches directly to the sheathing through the WRB. Fastener spacing matters here — too few fasteners and the window can rack or leak under wind pressure; too many, or fasteners driven at the wrong angle, and the flange can distort and open a gap. We follow the window manufacturer's fastening schedule on every install, because it's also what keeps the warranty intact.
Sealing and Backer Rod
Interior and exterior sealant joints get backer rod where the gap calls for it, so the sealant forms a proper bead instead of a thin skin that cracks within a season or two. We also leave the correct shim space and insulate the gap between the window frame and rough opening — a gap that's too tight can bow the frame; a gap that's poorly insulated becomes a cold spot that invites condensation on the interior side during our damp winters.
How Our New-Construction Window Process Works in Kendall
We coordinate directly with the builder or homeowner on timing, because window installation has to happen at a specific point in the build — after the weather-resistive barrier is up and inspected, before siding starts. Here's the general sequence we follow:
- Walk the rough openings with the framer's plans and confirm sizing, plumb, level, and square before any window arrives on site
- Install sloped sill pans at every opening
- Set each window, checking plumb, level, and square again, then fasten per the manufacturer's schedule
- Install flashing in the correct shingle-lap sequence — sill, jambs, head — integrated with the WRB
- Seal and insulate the interior perimeter of the frame
- Photograph every opening's flashing detail before it's covered by siding, for the builder's and homeowner's records
- Final walk-through to confirm operation, seals, and hardware on every window before we leave the site
That documentation step matters more than most people realize. Once siding goes on, the flashing work is invisible — having a photo record gives the builder and homeowner something concrete if a warranty question ever comes up down the road.
Choosing Window Materials for a Whatcom County New Build
Material choice affects how the window handles our climate over the long run, and it's worth deciding deliberately rather than defaulting to whatever's cheapest on the supplier's shelf.
| Material | Moisture Performance | Maintenance | Typical Fit |
|---|---|---|---|
| Vinyl | Good — won't rot, but seals and hardware are the weak point over time | Low | Most cost-conscious new builds |
| Fiberglass | Very good — stable in swings between wet and dry, low expansion/contraction | Low | Homes wanting longer service life without upsizing budget dramatically |
| Wood-clad | Good on the exterior clad side, but any breach in the cladding exposes wood beneath | Moderate to high | Homes prioritizing interior wood appearance |
| Aluminum | Poor thermal performance and prone to condensation in our damp winters unless thermally broken | Low | Limited residential use; better suited to commercial applications |
We'll talk through these trade-offs honestly rather than pushing a single product. What matters most is that whatever material is chosen gets installed with the flashing and sealing details above — a premium window installed carelessly will underperform a mid-range window installed correctly.
Common Mistakes We Find in New-Construction Window Openings
When we're brought in to inspect or repair someone else's work, these are the issues that come up again and again:
- Flat or missing sill pans, allowing water to sit directly against sheathing
- Flashing installed out of sequence, directing water behind the WRB instead of over it
- Housewrap taped over the nailing flange instead of lapped correctly around it
- Under- or over-driven fasteners causing frame distortion
- No backer rod, leading to sealant joints that crack within a year or two
- Openings installed out of square, causing operable windows to bind or fail to latch properly
- No photo documentation, leaving no way to verify flashing details once siding is up
Every one of these is preventable with a careful, sequenced install — none of them require exotic materials or unusual skill, just attention to an order of operations that's easy to rush past on a busy job site.
Why Local Experience in Kendall and Whatcom County Matters
A crew that's worked new construction across Lynden, Kendall, and the surrounding Whatcom County lowlands has already seen how local rough-opening framing tends to run, how our wet season affects install scheduling, and which flashing details actually hold up through a full winter of driving rain rather than just looking right on install day. That local track record shows up in small ways: knowing when a weather window is closing and a sequence needs to be compressed safely, coordinating cleanly with framers and siding crews who are used to working alongside us, and standing behind the work with people who are still local next year if a question comes up.
We're not interested in being the fastest crew on site — we're interested in openings that are still performing exactly as installed ten and twenty years from now, long after the siding has gone up and the scaffolding is gone.
What New-Construction Window Installation Typically Costs
Pricing depends heavily on the number and size of openings, window material, and how the project is sequenced with the rest of the build. Broad ranges below are for planning purposes only — every home's actual quote depends on its specific window schedule.
| Cost Factor | Impact on Price |
|---|---|
| Number and size of openings | Largest single driver — more and larger windows mean more labor and material |
| Window material (vinyl, fiberglass, wood-clad) | Fiberglass and wood-clad typically cost more per unit than vinyl |
| Special shapes or operable configurations | Casements, sliders, and custom shapes add labor beyond standard fixed or single-hung units |
| Site access and scheduling | Multi-story openings or tight coordination with other trades can add time |
| Flashing complexity | Openings near rooflines, decks, or other penetrations require extra detailing |
We'd rather walk your specific plan set and give you real numbers than throw out a figure that doesn't match your project.
Let's Talk About Your Kendall Build
If you're framing a new home or addition in or around Kendall and want a window installation done with the same care whether it's the front elevation or a window nobody will ever see up close, we'd like to walk the plans with you. We'll give you a straightforward, no-pressure estimate and explain exactly how we'll handle flashing, sill pans, and sequencing for your specific openings — just fill out the form below to get started.