 Lynden Siding
 Siding Repair for Aldergrove, BC Homes
Aldergrove, BC sits just across the line from Lynden, and the two communities share more or less the same weather, the same building stock, and the same slow, steady wear on exterior siding. Homes here don't usually fail all at once. A section of trim rots quietly behind a downspout, a few boards cup and separate at a butt joint, moss builds up in a shaded north wall until the paint underneath starts to lift. By the time it's visible from the street, the damage has usually been working on the wall for a year or two already.
This page is about one job: repairing siding on homes in and around Aldergrove, BC. Not a full re-side, not a general "how siding works" primer — just what local homes typically need, what a repair should actually include, and how we approach it when we're called out to this part of Whatcom County and the corridor just north of it.
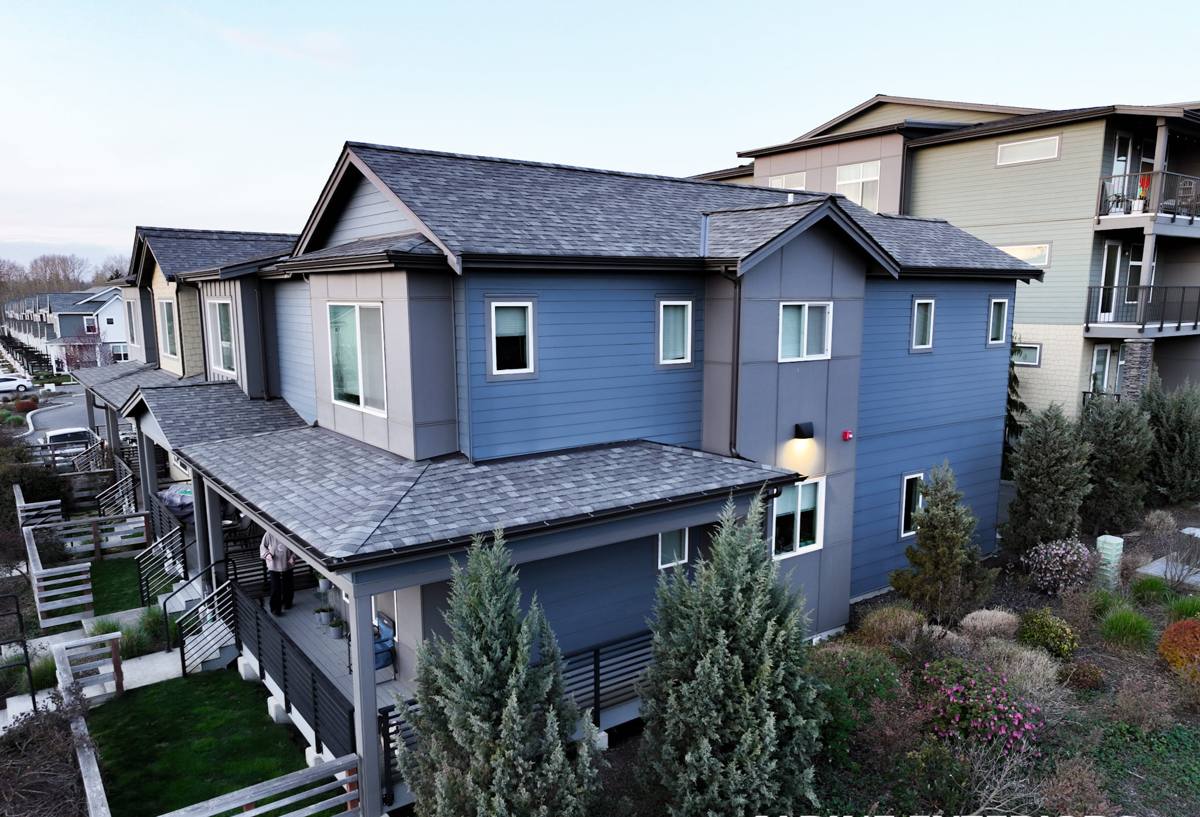
What This Climate Does to Siding
Whatcom County and the Fraser Valley share a Pacific Northwest maritime climate, and the stretch between Lynden and Aldergrove, BC gets the full package: prolonged damp seasons, wind-driven rain, and enough shaded, low-airflow siding to grow moss on almost any material if it isn't kept clean.
Salt Air and Fastener Corrosion
Proximity to the Salish Sea and the broader marine air pattern in this region means a low but constant level of salt exposure, even well inland. Over years, that salt-laden moisture accelerates corrosion on exposed fasteners, staples, and unprotected metal trim. Once a fastener starts to rust, it loses its grip, siding boards work loose, and the small gap that opens up becomes an entry point for water — which is usually how a simple loose-board problem turns into a rot problem.
Driving Rain and Water Intrusion
Rain here rarely falls straight down. Storms moving through the valley push rain sideways into wall assemblies, which is exactly the condition lap siding, caulked joints, and butt seams are supposed to be detailed to resist. When a joint was caulked instead of properly lapped and flashed, or when caulk has simply aged out and cracked, driving rain finds that gap on every storm — not just the bad ones.
Moss Season
Moss doesn't just sit on the surface. On north- and east-facing walls, under eaves, and anywhere airflow is limited, moss and algae hold moisture directly against the siding face for months at a time. On wood-based products, that constant dampness is what starts rot. On any material, it traps grime against the finish and accelerates paint and coating failure.
Signs Your Aldergrove, BC Home Needs a Siding Repair
Most homeowners call us about one obvious problem — a soft spot, a stain, a section that looks "off" — but a proper inspection almost always finds a second or third issue nearby that hasn't announced itself yet. Before you call anyone, it's worth doing a walk-around and checking for these:
- Soft, spongy, or crumbling siding when pressed (a strong sign of rot underneath)
- Dark staining or streaking below seams, corners, or window trim
- Boards or panels that have visibly cupped, bowed, or pulled away from the wall
- Cracked, chalky, or peeling paint concentrated in one area rather than the whole house
- Moss or algae buildup that keeps returning within a season of cleaning
- Caulk lines that have shrunk, cracked, or separated from the siding edge
- Visible gaps at corner boards, trim, or around penetrations like vents and hose bibs
- A musty smell or interior wall staining on the same side as an exterior problem area
Any one of these on its own might be minor. Two or three clustered in the same area usually means water has been getting behind the siding for a while, and the repair needs to address the cause, not just the visible symptom.
What a Correct Repair Actually Involves
Diagnose Before You Patch
The most common mistake in siding repair isn't bad workmanship — it's incomplete diagnosis. Pulling one damaged board, cutting in a patch, and caulking the edges looks finished, but if the water was entering through a failed flashing detail two feet away, the same damage comes back within a year or two. A proper repair starts by pulling back enough siding to see what's underneath: the house wrap or building paper, the sheathing, the flashing at windows and penetrations, and the condition of the framing itself if rot has gone that deep.
Matching Materials and Finish
If the existing siding is still sound overall, a repair should match the profile, exposure, and finish closely enough that the patch doesn't stand out. For James Hardie siding, that means matching the plank profile and, where possible, using ColorPlus factory-finished material so the color and sheen match without a field repaint of the whole elevation. For older wood, LP, or vinyl siding that's showing its age throughout, we'll tell you plainly if patching is a short-term fix versus if the section is due for a proper replacement.
Sealing and Flashing, Not Just Caulk
Caulk is a maintenance item, not a waterproofing strategy. A repair that's built to last relies on correct lapping, properly installed flashing and drip edges, and house wrap integration first — caulk is the last line of defense, not the only one. This is the detail that determines whether a repair holds up through a real Whatcom County or Fraser Valley winter or needs to be redone in three years.
Repair or Replace? How We Decide
Not every damaged section needs to come off the wall. Below is roughly how we walk homeowners through that decision on a typical Aldergrove, BC or Lynden home.
| Factor | Repair Is Usually Enough | Replacement Makes More Sense |
|---|---|---|
| Extent of damage | Isolated to one or two boards/panels | Spread across a full wall or multiple elevations |
| Cause | A single identifiable failure point (flashing, caulk, impact damage) | Systemic issue — original install quality, wrong material for exposure |
| Siding age and material | Recent install, sound material elsewhere on the wall | Original siding nearing or past its practical service life |
| Underlying structure | Sheathing and framing intact once opened up | Rot has reached sheathing or framing in multiple spots |
| Cosmetic match | Replacement material can be matched closely | Discontinued profile/color, patch will always look patched |
We'll always give you the honest read on which column your home falls into, including when a repair is the right call — a repair-first approach that turns into a needless full re-side isn't good for your budget or our reputation in this area.
Why Repairs Get Rebuilt in James Hardie Fiber Cement
We install James Hardie fiber cement siding exclusively, and that carries into how we handle repairs. When a damaged section needs to come off entirely — rather than just be patched — we replace it with Hardie material rather than matching in kind with vinyl, LP SmartSide, or bare wood, even on homes that didn't originally have Hardie siding.
The reasoning is practical, not promotional. Fiber cement doesn't rot, doesn't feed moss the way wood fiber can, and holds paint or factory finish far longer under the kind of moisture load this climate delivers. Hardie's HZ5 product line in particular is engineered for climates with freeze-thaw cycling and sustained moisture exposure — which describes this region well. On a home that's had one repair already, replacing the failed section with a material less prone to repeating the same failure is usually the better long-term move than simply reinstalling the same product that failed the first time.
Where the rest of the home's siding isn't Hardie, we'll be upfront about what a Hardie patch will look like next to the existing material, and what your options are — including whether it makes more sense to plan a broader Hardie transition over time rather than chase one-off repairs indefinitely.
Our Process for Aldergrove, BC Service Calls
We regularly work the Lynden–Aldergrove corridor, which means we're familiar with the housing stock on both sides of the line — from older farmhouses to newer subdivision builds — and with how this specific stretch of climate treats siding differently than, say, a drier inland location. A repair visit typically looks like this:
- An on-site inspection of the damaged area and a check of adjacent walls for related issues
- Pulling back siding as needed to assess sheathing, flashing, and moisture damage before quoting
- A clear explanation of what caused the failure, not just what we're replacing
- A written scope that specifies repair versus replacement and why
- Correct flashing, lapping, and sealing detail on every patch — not caulk-and-go work
We treat every repair call, whether it's a single board or a full elevation, as a chance to leave the wall in better shape than we found it — not just cosmetically fixed.
Keeping a Repaired Wall From Failing Again
Once a repair is done right, a little seasonal attention keeps it that way through the next moss season and beyond. Keep gutters and downspouts clear so runoff isn't sheeting down the wall face. Trim back vegetation that's shading a wall and keeping it damp longer than the rest of the house. Rinse moss and algae off before it establishes rather than after, especially on north-facing walls. And keep an eye on caulk lines at trim and penetrations — they're a maintenance item, not a one-time install step, and catching a failed bead early is a lot cheaper than catching the rot behind it.
If you're seeing damage on your siding in Aldergrove, BC or anywhere around Lynden, we're happy to take a look and give you a straight answer on what it needs — repair or replacement — with no pressure either way. Reach out below for a free estimate.