 Lynden Siding
 Siding Installation in Laurel: Built for What This Climate Actually Does to a House
Laurel sits in the part of Whatcom County where marine air off the Salish Sea, steady winter rain, and shaded, slow-drying lots all work on a house at the same time. A siding installation that looks fine on the day it's finished can start failing within a few years if it wasn't built for that combination. We install siding for homes in and around Laurel and Lynden, and the jobs that hold up are the ones where the details under the surface — flashing, fastening, drainage, material selection — were treated as seriously as the finished look.
This page covers what Laurel homes specifically need from a siding installation, what a correct job involves step by step, how our process works, and why it matters to hire a crew that already understands this area's conditions rather than one working from a generic playbook.
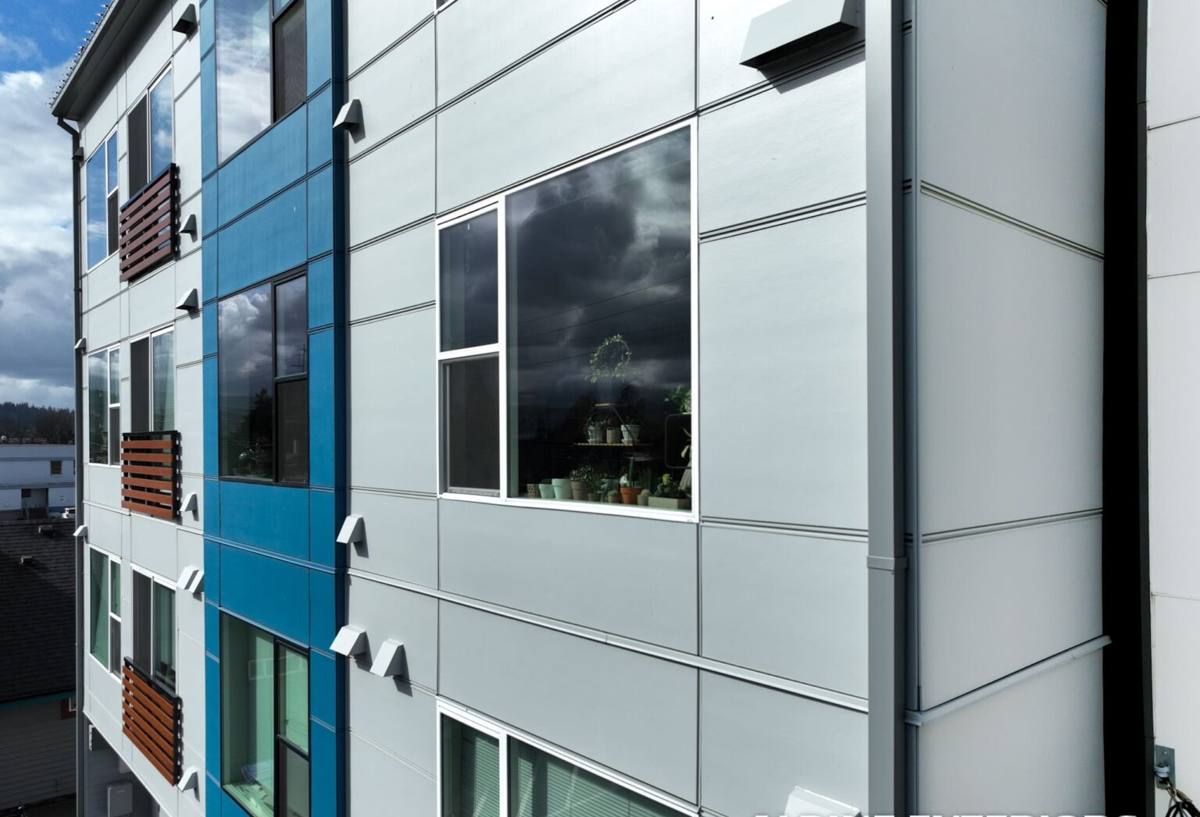
What Laurel's Climate Does to Siding Over Time
Salt Air and Coastal-Influenced Moisture
Whatcom County isn't oceanfront, but the marine air moving in off the coast still carries salt and moisture that settles on exterior surfaces. Over years, that moisture cycle accelerates corrosion on exposed fasteners and metal trim, and it keeps painted and coated surfaces working harder than they would in a drier inland climate. Siding and trim materials that aren't engineered to handle repeated wet-dry cycling show it early — chalking, fading, and fastener staining well ahead of schedule.
Driving Rain and Wind-Driven Water
Rain in this part of Washington doesn't just fall straight down — winter storms push it sideways into walls, seams, and penetrations. If the weather-resistive barrier, flashing, and siding overlaps underneath aren't installed correctly, wind-driven rain finds its way behind the cladding. That's when you get rot in the wall sheathing, not from a single storm, but from small amounts of trapped moisture accumulating over multiple wet seasons.
A Long Moss Season
Shaded lots, tree cover, and long stretches of damp weather give moss and algae plenty of time to establish themselves on north-facing and shaded wall sections. Moss holds moisture against the siding surface far longer than open air would, and on materials that aren't dimensionally stable or properly finished, that constant dampness speeds up softening, delamination, or paint failure.
What a Correct Siding Installation Actually Involves
A siding job is judged by what's underneath it, not just how it looks from the street. In a climate like Laurel's, skipping or rushing any of these steps is where future problems start.
Weather-Resistive Barrier and Flashing First
Before a single piece of siding goes up, the wall needs a continuous, correctly lapped weather-resistive barrier, with flashing integrated at every window, door, deck ledger, and penetration. Flashing has to be layered so water is always directed outward and downward — never trapped behind the barrier. This step is invisible once the siding is installed, which is exactly why it's the step most often shortcut by crews trying to move fast.
Fastening and Clearances
Fiber cement siding has specific fastening requirements — nail type, placement, and depth all affect how the material performs over time. Ground clearance and clearance from roof lines, decks, and patios also matter: siding installed too close to grade or to a hard surface stays wet longer and is more exposed to splash-back moisture, which matters even more in a region with Laurel's rainfall.
Joints, Seams, and Caulking
Every seam is a potential water entry point. Butt joints need to be back-primed and properly sealed or flashed depending on the detail, and caulking has to be used at transitions, not as a substitute for proper flashing. A siding job with tight, correctly detailed joints will still look clean after several wet winters; one that relies on caulk to do the work of flashing won't.
Why We Install Only James Hardie Fiber Cement
We don't install vinyl, LP SmartSide, Cemplank, Allura, or wood siding like primed spruce or cedar. That's a deliberate standard, not a limitation in what we're capable of installing. Each of those products has real strengths, but each also carries trade-offs — maintenance burden, moisture sensitivity, dimensional movement, or installation tolerances — that we don't think hold up well against a climate that stays wet as long as Whatcom County's does.
James Hardie fiber cement is engineered specifically around moisture and climate exposure. The HZ5 product line, which covers this region, is formulated for areas with damp, moderate climates rather than hot-dry ones. It's non-combustible, dimensionally stable in wet and dry cycles, and finished at the factory with ColorPlus coating, which resists fading and chalking far longer than field-applied paint on wood or engineered wood products. That factory finish also matters directly for Laurel: less exposed, unprotected surface for salt-laden moisture and shaded dampness to work on.
Our Installation Process From Estimate to Finish
Site Assessment and Tear-Off
We start with a walk-around of the home to check existing siding condition, look for signs of moisture damage or rot in the sheathing, and note anything specific to the lot — shade patterns, drainage, roof lines that direct extra water onto certain walls. Old siding comes off in full, and any damaged sheathing or framing found underneath gets addressed before anything new goes up. Covering over hidden rot is the single worst shortcut in this trade.
Barrier, Flashing, and Installation
Once the wall is sound, we install the weather-resistive barrier and flashing system, then install the Hardie siding to manufacturer specification — correct fastening, correct clearances, correct joint treatment. This is the stage where the climate-specific details covered above actually get executed, not just planned.
Final Inspection and Walkthrough
Before we call a job finished, we walk it with the homeowner, check trim and caulking lines, and confirm drainage paths at grade, decks, and roof intersections are clear. A siding installation is only as good as its weakest detail, so this step is about catching anything that needs adjusting while it's still easy to fix.
Why Hiring a Crew That Already Works in Laurel Matters
A contractor who's already installed siding on homes in this specific area understands things a generic estimate won't capture — which wall orientations in this microclimate hold moisture longest, how much clearance actually matters given local rainfall patterns, and what moss and algae growth looks like in its early, treatable stages versus later stages that indicate deeper moisture problems. That familiarity shows up in fewer callbacks and a job that's built for the conditions it will actually face, not conditions assumed from a manufacturer's general install guide alone.
Cost Factors for Siding Installation in Laurel
Every home is different, and we don't publish blanket pricing because wall condition, home size, and site access all move the number. The table below covers what typically drives cost up or down on a siding installation in this area.
| Factor | Why It Affects Cost |
|---|---|
| Home size and number of stories | More wall area and taller walls mean more material, more labor time, and more equipment for safe access. |
| Condition of existing sheathing | Hidden moisture damage found during tear-off requires repair before new siding goes on, which adds material and labor. |
| Siding profile (lap, shingle, panel) | Some Hardie profiles take longer to install correctly due to reveal spacing and joint detailing. |
| Trim and detail work | Homes with more windows, dormers, and roof transitions need more flashing and cutting work. |
| Site access and lot conditions | Tight lots, slopes, or heavy landscaping near walls can slow tear-off, staging, and cleanup. |
Signs Your Laurel Home Needs New Siding
Given how long this area's wet season runs, it's worth checking your siding at least once a year for early warning signs rather than waiting for an obvious failure. Watch for:
- Persistent moss or algae growth on shaded or north-facing walls
- Soft spots, bubbling, or visible warping when you press on the siding
- Cracking or gaps opening up at seams and joints
- Paint that's peeling or chalking heavily, especially on older wood-based siding
- Staining or rust streaking around fasteners
- A noticeable rise in heating costs, which can point to moisture-compromised insulation behind failing siding
- Visible rot or discoloration at the bottom edges of walls near grade
Catching these early usually means a smaller, more contained repair or replacement scope. Waiting until damage reaches the sheathing turns a siding job into a structural repair job first.
Get a Straight Answer for Your Home
If you're seeing any of the signs above, or your current siding is simply getting old and you want to understand your real options before committing to anything, we're happy to take a look. Fill out the form below for a free, no-pressure estimate on siding installation for your Laurel-area home.