 Lynden Siding
 Building New in Laurel: What the Windows Have to Handle
If you're framing a new home in or around Laurel, just outside Lynden, the windows you choose and how they're installed will do more to determine your long-term comfort and maintenance load than almost any other single decision on the exterior. Whatcom County sits close enough to the water that salt-laden air reaches inland further than most homeowners expect, and it combines with long stretches of driving rain and a moss season that can run most of the year in shaded spots. New-construction windows go into a home before siding, trim, and finish work cover them up, which means the installation has to be right the first time — there's no pulling siding off in six years to fix a flashing mistake without real cost.
New construction gives you an advantage replacement work never does: you get to build the water management system into the wall from the start, rather than work around what's already there. Done correctly, that's the single best opportunity you'll have to keep moisture out of the wall assembly for the life of the house.
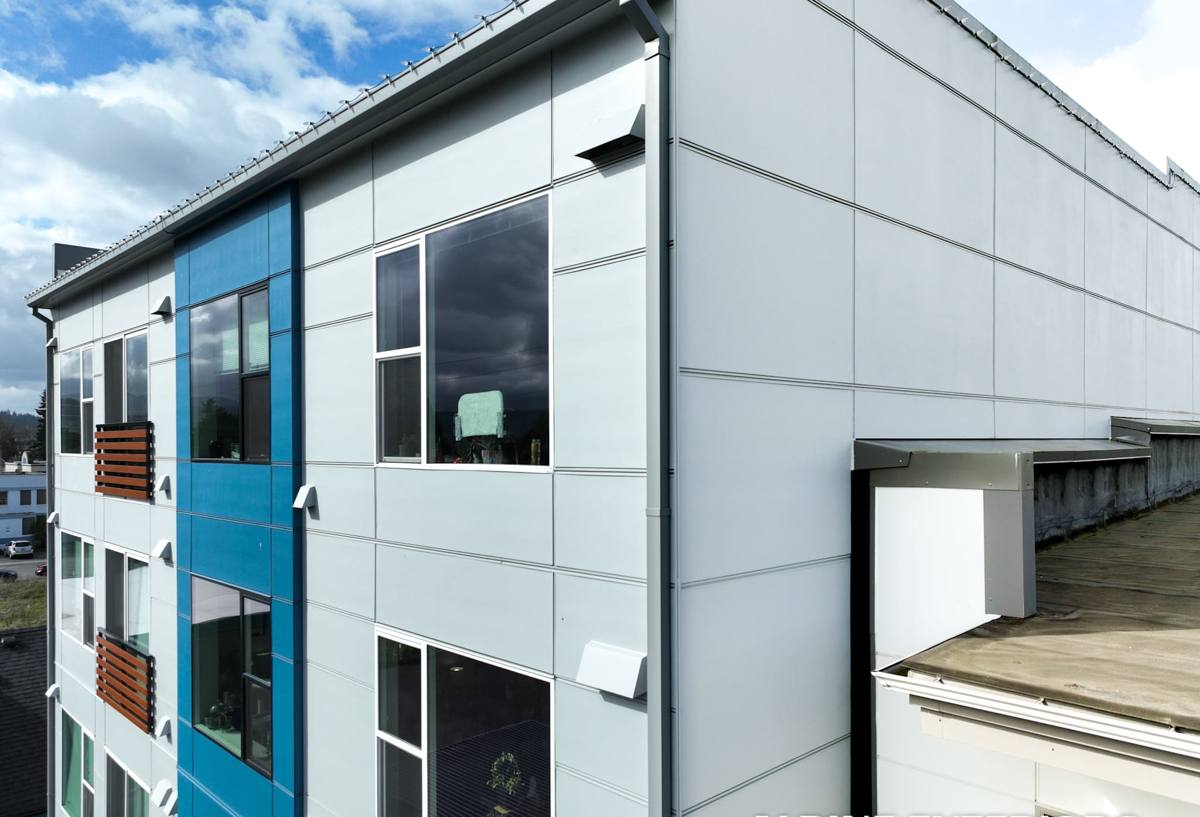
New-Construction vs. Replacement: Why the Install Method Matters
New-construction windows are built with a nailing fin (sometimes called a nail flange) around the perimeter of the frame. That fin gets integrated directly into the weather-resistive barrier (WRB) and flashing system before siding goes on. This is different from a pocket or insert replacement window, which fits inside an existing frame and relies on the original opening's flashing already being sound.
Because you're starting from a bare rough opening, the sequence of steps — sill pan first, then side flashing, then the window itself, then head flashing lapped over the top — has to happen in the correct order and with the correct laps, every time. Get the order wrong and you've built a funnel that channels water into the wall instead of away from it. In a climate that sees as much driving rain as Whatcom County does, that mistake shows up as rot, not just a drafty window.
Why Laurel's Setting Raises the Stakes
Homes around Laurel often sit on lots with mature tree cover, which keeps siding and window trim shaded and slow to dry after a storm. Add salt-influenced air moving in off the water and you get two compounding effects: metal fasteners and flashing corrode faster if the wrong materials are used, and painted or bare wood trim stays damp longer between rain events. None of this is unique to any one lot, but it's common enough across the area that we plan for it as a baseline, not an exception.
What Correct New-Construction Window Installation Actually Involves
A window that's simply "screwed into the rough opening" is not a finished installation — it's a leak waiting on a rainstorm. Here's what a correct sequence looks like:
- Rough opening checked for square, level, and correct dimension before the window ever shows up on site
- Self-adhered flexible flashing membrane installed as a sill pan, with end dams to stop water from running out the sides
- WRB (housewrap) prepped and cut so it laps correctly over the sill pan, not under it
- Window set, shimmed plumb and level, and fastened per the manufacturer's schedule — not just at the corners
- Side flashing tape applied over the nailing fin, then head flashing installed last and lapped over the top of the side flashing and WRB
- Backer rod and exterior sealant applied at the trim-to-siding joint, sized and placed so the window can still drain if water gets past the first line of defense
- Interior air sealing (low-expansion foam or backer rod plus sealant) between the frame and rough opening, separate from the exterior water management
Every one of those steps matters on its own, but the order matters just as much — each layer needs to shed water onto the layer below it, the same way shingles work on a roof. Skip a step or reverse the order and the assembly can look identical from across the yard while performing completely differently in a storm.
Choosing a Window Line for Whatcom County Conditions
Frame material and glass package both affect how a window holds up to salt air, rain, and the region's mild but persistent damp cold. There's no single "best" choice for every home — it depends on budget, the home's design, and how exposed the elevation is — but here's how the common options compare for this climate specifically.
| Frame Material | Moisture & Salt-Air Behavior | Maintenance | Typical Fit |
|---|---|---|---|
| Vinyl | Won't corrode or rot; performs consistently in damp, salt-influenced air | Low — occasional cleaning | Most new builds; strong value for the climate |
| Fiberglass | Very stable in moisture and temperature swings; resists corrosion well | Low | Higher-end builds, larger openings, dark exterior colors |
| Aluminum-clad wood | Exterior face resists weather; interior wood needs the cladding to stay intact | Moderate — depends on cladding seams staying sealed | Homes wanting a wood interior look with exterior protection |
| Bare wood | Most vulnerable to prolonged damp and salt exposure without diligent upkeep | High — regular painting and sealing | Historic-style or architecturally specific projects only |
For most Laurel-area new builds, we steer homeowners toward vinyl or fiberglass simply because they hold up with the least ongoing attention in a climate that doesn't give surfaces much time to fully dry out between rain events. That's a maintenance and moisture-behavior judgment, not a knock on wood or clad-wood windows — they can be a great fit when a homeowner wants that look and is prepared to keep up with it.
Glass and Weatherstripping
Double-pane, low-E glass is standard on nearly every new-construction window sold today, and it's the right baseline for this region's mild but persistent cold. What varies more is the weatherstripping and lock hardware quality — cheaper units tend to lose their seal compression within a few years, which shows up as a draft or a whistle in windy weather. We look at hardware quality as closely as glass spec when helping a homeowner pick a line.
Our Process, From Rough Opening to Final Trim
On a new build, we coordinate directly with the framer and, where applicable, the siding crew so window installation happens at the right point in the sequence — not too early, before the WRB is ready, and not so late that it holds up the rest of the exterior schedule.
- Rough opening inspection against the window schedule and manufacturer specs
- Sill pan flashing and WRB integration, verified before any window is set
- Window setting, shimming, and fastening to manufacturer spec
- Flashing tape-in at sides and head, in the correct shingle-lap order
- Interior air sealing
- Exterior trim and sealant, coordinated with siding so the whole assembly drains as one system
- Final walkthrough checking operation, locks, and weep function on every unit before we call it done
We treat flashing and sequencing as the part of the job that determines whether you're happy with these windows in year one or dealing with a wall repair in year eight. It's not the most visible part of the work, but it's the part that matters most.
Mistakes We See When Window and Siding Trades Aren't Coordinated
Most of the window problems we get called to diagnose on newer homes trace back to a coordination gap between trades rather than a bad window itself. A few patterns show up repeatedly:
- Housewrap cut and taped before the window supplier is finalized, leading to openings that don't match the actual unit dimensions
- Head flashing installed before, rather than after, the side flashing — reversing the drainage lap
- Siding installed tight against the window trim with no room for the assembly to drain or move seasonally
- Sealant used as the primary water barrier instead of as a secondary backup to proper flashing
- Nailing fins fastened at corners only, leaving the window able to rack out of square over time
We catch most of these by controlling the flashing and window-setting step ourselves rather than handing it off piecemeal between separate crews.
Checklist: What to Confirm Before Windows Go In
Whether you're a homeowner managing your own build or working with a general contractor, these are worth confirming before your window crew shows up:
- Window schedule matches actual rough opening sizes, verified in person, not just on paper
- WRB is installed and ready to receive flashing tape at every opening
- Flashing tape and sealant are rated for compatibility with both the WRB and the window frame material
- A written sequence exists for sill, side, and head flashing order — and whoever is installing knows it
- Interior air sealing is treated as a separate step from exterior water management, not combined
- Someone will walk every window before siding closes it in, checking operation and squareness
Why a Crew That Already Works Laurel Matters
Building science for window installation doesn't change block by block, but familiarity with how a specific area's conditions play out over time does add value. A crew that regularly works Laurel and the surrounding Lynden area has already seen how tree-shaded lots hold moisture longer, how salt-influenced air affects fastener and flashing choices, and how moss establishes itself on north-facing trim and roof-adjacent window heads if drainage isn't right. That's the kind of pattern recognition that comes from repetition in the same conditions, not from a general specification sheet.
It also means fewer surprises during scheduling — we know the typical weather windows for this area well enough to plan flashing and trim work around dry stretches rather than fighting the forecast.
Timeline and Cost Factors
New-construction window installation is typically priced and scheduled as part of the overall framing-to-dry-in sequence rather than as a standalone service, so exact numbers depend on the window count, sizes, frame material, and how the job coordinates with your framer and siding crew. Broadly, expect fiberglass and larger custom sizes to sit above standard vinyl units, and expect any project with unusual opening sizes or non-standard shapes to add both cost and lead time due to special ordering. The most reliable way to get a real number is a walkthrough of your plans or framed opening.
If you're framing a new home in Laurel or elsewhere around Lynden and want windows installed the way this climate demands — correctly flashed, properly sequenced, and set by a crew that knows the area — we're happy to walk your plans or your framed openings and put together a straightforward, no-pressure estimate using the form below.