 Lynden Siding
 New Construction Windows Built for Bellingham's Weather
Bellingham sits close enough to the water that salt-laden air is a real factor in how exterior materials age, and Whatcom County as a whole gets long stretches of driving, wind-pushed rain rather than gentle vertical rainfall. Add in a moss season that can run most of the year on shaded north- and west-facing walls, and you have a climate that is unusually hard on window openings if they aren't built correctly the first time. A new-construction window project is your one real chance to get the water management right before siding, trim, and paint go on and hide the details forever.
We install new-construction windows for builders and homeowners in and around Bellingham, and this page is specifically about that scope of work — new openings in new or heavily reframed walls — not pocket replacements dropped into an existing frame. The distinction matters more than most people expect, and it's the first thing worth understanding before you pick a window or a contractor.
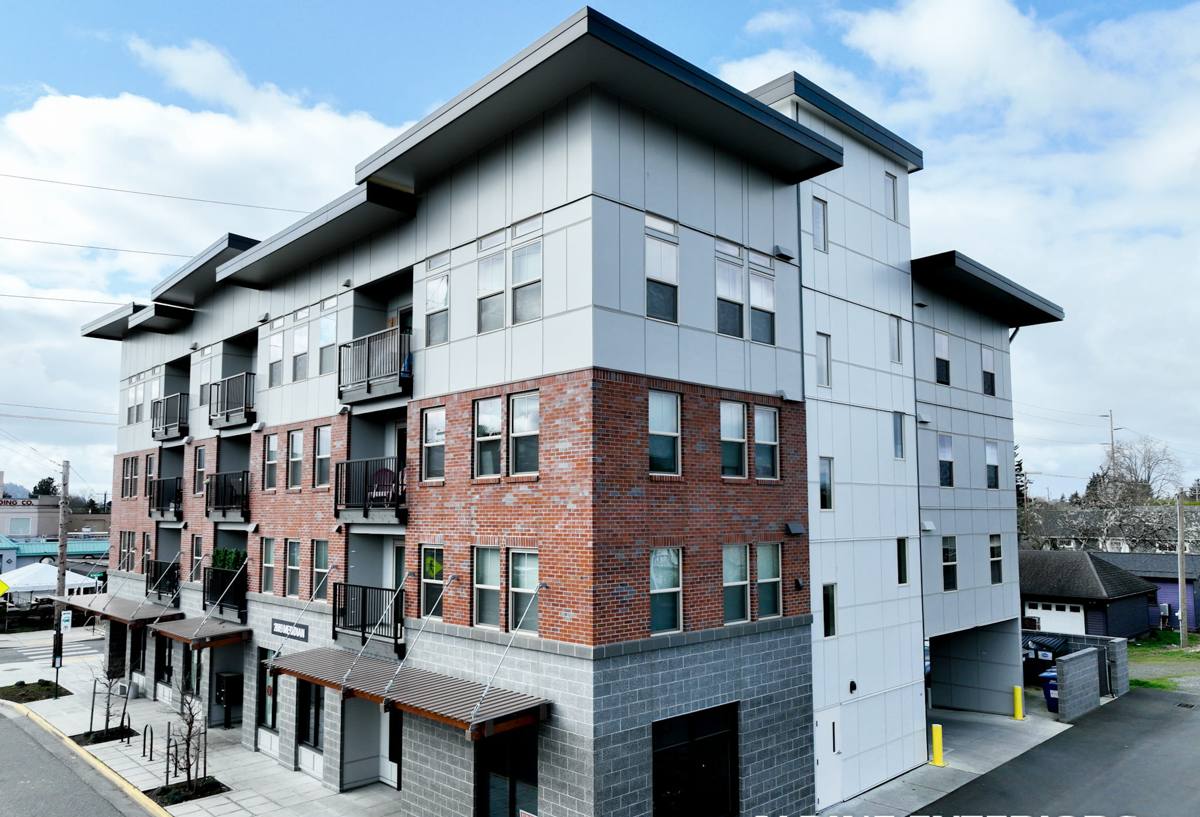
New Construction vs. Replacement: Why It's a Different Job
A new-construction window has a nailing fin (sometimes called a flange) around its perimeter that gets fastened directly to the wall sheathing, then integrated into the weather-resistive barrier (WRB) and flashing system before siding goes over it. A replacement or "pocket" window, by contrast, fits inside an existing frame with no nailing fin, relying on the old opening's flashing — good or bad — to keep water out.
On a true new build, or an addition, or a wall that's being opened up to the studs, new-construction windows are almost always the right call because they let us control the entire water path from sheathing to siding. That's the advantage. The trade-off is that there's no room for shortcuts — every layer has to be sequenced correctly, because once the siding is on, the flashing details are buried for the life of the house.
What This Means for a Bellingham Job Specifically
Because our rain tends to arrive sideways off Bellingham Bay and the Strait, we treat every new-construction opening as if it will see wind-driven water at the head and sides, not just standing water at the sill. That changes how we lap materials and where we add secondary protection, which we'll walk through below.
The Flashing and Water Management Details That Actually Matter
Most window failures we're called out to inspect in this area aren't failures of the window itself — they're failures of the flashing sequence around it. Vinyl, fiberglass, and clad-wood windows are all capable of decades of service; what shortens their life (and the wall's) is water getting behind the WRB and sitting against sheathing and framing that never fully dries in our climate.
A correct new-construction install, in the order it should happen, looks like this:
- Rough opening prepped square, level, and sized to the manufacturer's tolerance — not "close enough"
- Sill pan flashing installed first, sloped or dammed so any water that gets past the window drains back out over the WRB, never into the wall cavity
- Self-adhered flashing tape at the jambs, lapped over the sill pan in shingle fashion so water always sheds downward and outward
- Window set, shimmed, and fastened through the nailing fin per the manufacturer's schedule — not just at the corners
- Head flashing installed last, lapped under the WRB above the opening so it directs water out and over the window, not behind it
- Backer rod and sealant at the interior and exterior trim joints, sized for the gap rather than caulked as an afterthought
That last point matters more here than in drier parts of the state. With Bellingham's rain volume and duration, we lean toward flashing tapes and sealants rated for sustained wet exposure rather than the cheapest compatible product, because a marginal product gets tested every winter, not occasionally.
Moss, Algae, and Long-Term Sill Performance
Extended damp shade — common on the north and west elevations of homes near tree lines and along the Nooksack valley approach into Lynden and Bellingham — grows moss and algae on sills and trim faster than it would in a sunnier climate. This isn't purely cosmetic. Moss holds moisture against the sill and trim board, and if the underlying flashing wasn't done correctly, that trapped moisture eventually finds a way in. We factor sill slope and drip-edge detailing into every install so water is encouraged to leave the opening quickly rather than linger under organic growth.
Choosing a Window Material for a Bellingham New Build
There's no single "best" window material — the right choice depends on the elevation's exposure, the home's style, and the budget. Here's how the common options compare for a coastal Whatcom County build:
| Material | Moisture & salt-air tolerance | Maintenance | Typical lifespan |
|---|---|---|---|
| Vinyl | Good — won't corrode or rot, but can flex in temperature swings | Low — occasional cleaning | 20–30 years |
| Fiberglass | Very good — dimensionally stable, resists salt-air corrosion well | Low | 30–40+ years |
| Wood (unclad) | Poor in this climate without diligent upkeep — most exposed to rot | High — regular painting/sealing | Varies widely with maintenance |
| Clad-wood (vinyl or aluminum exterior) | Good on the exterior face; interior wood still needs normal care | Moderate | 25–35 years |
For homes with direct exposure to prevailing wind and rain, or anything close enough to the bay to catch salt air, we generally steer clients toward vinyl or fiberglass over unclad wood — not because wood windows are a bad product, but because our honest professional standard is to match the material to the exposure it will actually face. A wood window on a sheltered, covered porch elevation is a different conversation than the same window on an exposed west wall.
Energy Code and Performance in a Marine Climate
Washington's state energy code sets minimum U-factor requirements for new construction, and Whatcom County's marine climate zone means the target is different than it would be east of the mountains. In practice, for a new build in the Bellingham area you're typically looking at U-factors in the 0.30 or lower range to meet code, with many builders choosing to go lower for comfort and heating-cost reasons given how many overcast, damp months we get each year.
Solar heat gain coefficient (SHGC) matters less here than in a hot, sunny climate — we're not fighting overheating for most of the year — so window selection tends to prioritize U-factor and air infiltration performance over solar control. Double-pane, low-E glass is standard on nearly every new-construction project we do; triple-pane comes up on north- and east-facing rooms where comfort near the glass is a priority, or where a homeowner wants to push performance further.
Air Sealing at the Rough Opening
Energy performance on paper only matters if the installation backs it up. We seal the interior side of the rough opening — not just the window unit itself — with an appropriate air-sealing product, because a well-rated window in a leaky rough opening still drafts and still lets moist air condense inside the wall cavity.
Our New-Construction Window Installation Process
- Site walk and measure: we verify rough openings against the window schedule before ordering, catching framing errors while they're still cheap to fix
- Material selection: we walk through material, glass package, and grille options against your elevation exposure and budget
- Flashing and sill pan install: done before the window ever goes in, per the sequence above
- Window setting and fastening: shimmed plumb, level, and square, fastened per manufacturer schedule
- Head flashing and WRB integration: tied into the building wrap so the whole wall drains as one system
- Interior and exterior sealant and trim: backer rod sized correctly, sealant tooled, trim installed
- Final walk-through: operation check on every window, sill slope check, and a review of what was done at each opening
We photograph flashing details before siding covers them, both for our own records and so you have documentation of what's actually behind your walls — useful if you ever sell the home or need warranty support down the line.
Common Mistakes We See in New-Construction Window Installs
Not every crew that can hang a window understands water management, and in this climate that gap shows up eventually. The recurring problems we get called to correct on other people's work include:
| Mistake | Why it matters in Bellingham's climate |
|---|---|
| No sill pan flashing, or a flat/unsloped one | Any water that gets past the window sits against sheathing instead of draining out |
| Head flashing installed over the WRB instead of under it | Wind-driven rain gets directed straight into the wall cavity instead of over it |
| Nailing fin fastened only at the corners | Wind loads off the bay can work a window loose over time, opening gaps at the fin |
| Sealant used as the only water barrier, with no flashing behind it | Sealant degrades faster than flashing and isn't a substitute for it — it's the backup layer |
| Rough opening not air-sealed on the interior | Drafts and interior condensation risk, even with a high-performance window |
Each of these is invisible once the siding goes on, which is exactly why they don't get caught until there's a leak — often years later, and often expensive to trace and repair.
Why It Matters to Hire a Crew That Already Works Bellingham
Whatcom County's building departments and Bellingham's local permitting process both expect specific documentation and inspection sequencing for new-construction openings, and a crew that works here regularly already knows what inspectors want to see at rough-in versus final. That familiarity saves time and re-inspection trips.
Just as important is exposure knowledge. A crew that has flashed openings through several wet seasons on homes near the bay and out toward the county's rural edges has a feel for which elevations need extra attention — the ones catching prevailing wind and rain versus the sheltered ones — that isn't something you can fully get from a spec sheet. That's the difference between a technically correct install and one that's actually tuned to how weather behaves on your specific lot.
A Simple Homeowner Checklist Before Siding Goes On
If you're a homeowner overseeing a new build or addition, these are worth confirming before your walls get covered up:
- Sill pan flashing is visible and sloped or dammed at every window opening
- Flashing tape is lapped shingle-style — sill, then jambs, then head — so water always sheds down and out
- Head flashing tucks under the WRB above the window, not over it
- Every window operates smoothly (opens, closes, and locks) before trim goes on and access gets harder
- You have photos or written documentation of the flashing detail at each opening
If a contractor can't walk you through these points in plain language, that's worth asking about before work continues.
If you're planning new construction or an addition in the Bellingham area and want windows installed with the flashing and sealing details this climate actually requires, we're happy to walk the site with you. Reach out for a free, no-pressure estimate — the form below gets you straight to someone who can talk through your specific openings and exposure.