 Lynden Siding
 Siding Repair That Accounts for Kendall's Climate
Kendall sits in a part of Whatcom County where exterior siding takes a steady, specific kind of abuse. Salt-tinged air drifting in off the water works on fasteners, trim, and any exposed metal. Wind-driven rain doesn't just fall straight down here, it gets pushed sideways and up under laps and joints that were never designed to shed water from that angle. And a long, damp moss season settles into shaded and north-facing walls and stays there for months, feeding on moisture that a healthy wall system should never be holding in the first place. Siding repair in Kendall isn't a generic patch job. It's diagnostic work that has to account for why the damage happened before deciding how to fix it.
This page covers what siding repair actually involves for a Kendall home specifically — how to tell a surface problem from a structural one, what a correct repair looks like depending on what's underneath, and how our process works from first look to final walkthrough.
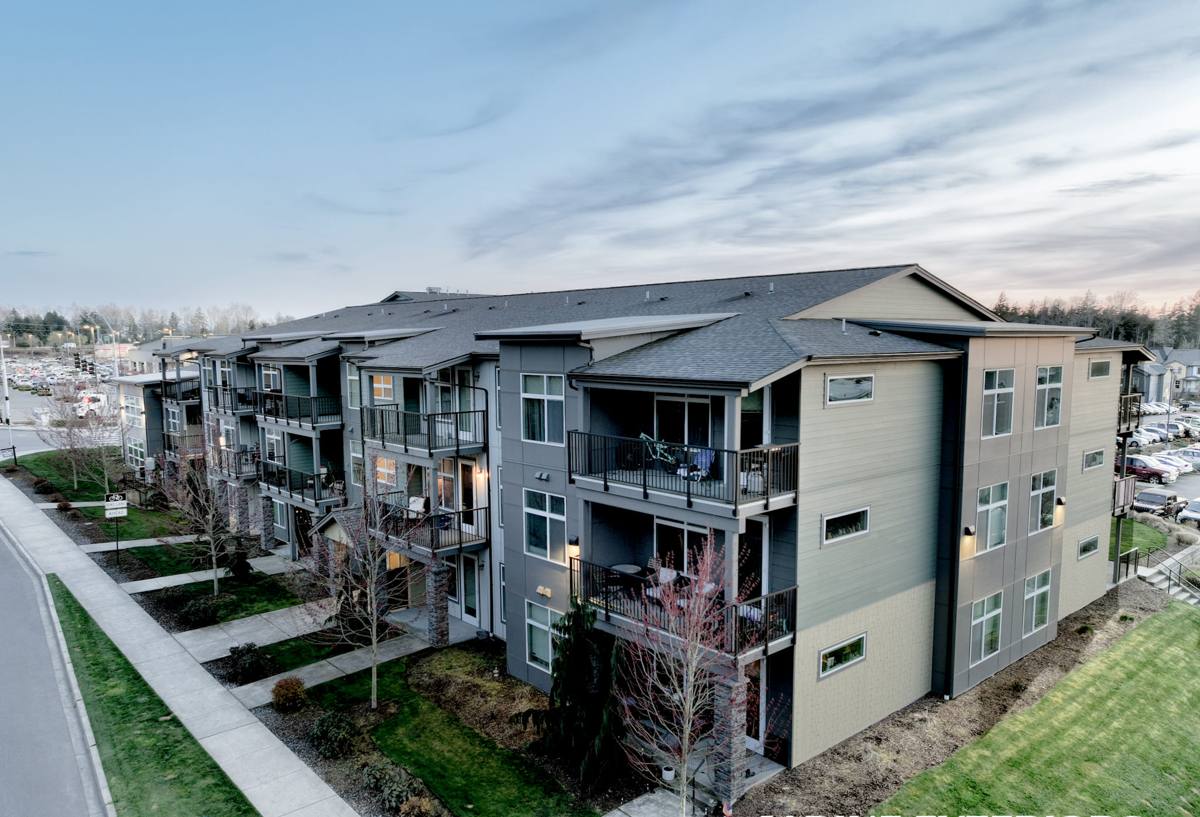
Why Repairs Fail When They Skip the Diagnosis
The most common mistake in siding repair isn't a bad caulk job or a mismatched board. It's treating a symptom without finding the cause. A rotted section of siding, a stained wall, or a soft spot under a window almost always has a moisture source behind it, and if that source isn't found and corrected, the new siding installed over it will fail again on the same timeline as what it replaced.
In Kendall's climate, that moisture source is usually one of a small number of repeat offenders: a failed or missing kick-out flashing above a roof-to-wall intersection, caulk that's cracked and let wind-driven rain track behind a joint, a gap at a window or door trim that's been wicking water for years, or a shaded wall holding enough dampness that moss and mildew have started breaking down the siding surface itself. A repair that doesn't identify which of these is actually happening is a repair that's likely to be redone within a few years.
What Local Conditions Actually Demand From a Repair
- Correct flashing at every horizontal transition: Roof-to-wall lines, window and door heads, and deck ledger connections are where wind-driven rain finds its way behind siding if flashing is missing, undersized, or improperly lapped.
- Corrosion-resistant fasteners: Salt-tinged marine air accelerates rust on standard fasteners, and a rusted fastener head is a common, avoidable source of a small leak that grows over time.
- Moisture-tolerant materials on shaded walls: North-facing and tree-shaded sections of a Kendall home hold dampness longer than sun-exposed walls, and repair materials there need to handle sustained moisture contact without breaking down.
- Proper drainage behind the siding plane: A functioning water-resistive barrier and drainage gap matter more here than in a drier climate, since the wall system needs a way to shed the water that inevitably gets past the outer surface.
Surface Damage vs. Structural Damage
Not every repair is the same size, and knowing the difference before a contractor ever shows up helps you understand what you're actually being quoted for.
Surface-Level Issues
Cracked caulk joints, faded or peeling paint on older wood or composite siding, minor impact damage, and cosmetic moss or mildew staining on the surface are generally straightforward. These repairs address the visible problem directly and don't usually require opening up the wall.
Moisture-Compromised Siding
Soft, spongy, or visibly swollen siding, especially near trim, windows, or lower wall sections, indicates water has already gotten past the surface and is being absorbed into the material itself. This tier of repair requires removing the affected siding to assess how far the damage extends before replacing it.
Structural Rot and Hidden Damage
When moisture has been getting behind the siding for an extended period, the damage often reaches the sheathing or framing underneath, not just the siding panel. This is the repair tier where the visible siding problem is really a symptom of something more serious happening in the wall assembly, and it's why a proper inspection sometimes turns a "quick patch" into a larger conversation about scope.
What a Correct Repair Process Involves
A repair done right follows the same logic regardless of size: find the source, address it, then restore the siding and finish work.
Inspection and Probing
A visual look from the ground misses most of what matters. A correct inspection involves physically checking suspect areas for softness, probing where damage is suspected, and tracing water paths back to their actual entry point rather than just the spot where damage became visible.
Removal and Assessment
Damaged siding gets removed carefully enough to expose what's underneath without creating new gaps in still-good material. This is the point where hidden sheathing or framing damage gets found, if it exists, before it gets sealed back up under new siding.
Correcting the Moisture Source
Whatever let water in gets fixed before anything new goes on: flashing repaired or added, water-resistive barrier restored and properly lapped, trim gaps sealed correctly. Skipping this step is the single biggest reason repairs fail early.
Matching and Installing Replacement Material
Replacement siding needs to match the existing profile, reveal, and finish closely enough that the repair doesn't stand out as an obvious patch, while still being properly fastened, flashed, and sealed at every new joint.
Final Sealing and Finish Work
Caulk joints, paint or factory finish touch-up, and trim details get completed so the repaired section performs and looks consistent with the rest of the wall.
Comparing Repair Approaches
| Approach | What It Addresses | Risk If Chosen Incorrectly |
|---|---|---|
| Surface patch (caulk, paint, minor board swap) | Cosmetic issues with no moisture intrusion behind the siding | Masks early signs of a deeper problem if the diagnosis was wrong |
| Section replacement | Localized moisture damage confined to the siding material itself | Fails again quickly if the underlying moisture source wasn't corrected |
| Repair with sheathing/framing correction | Damage that's reached the structural wall assembly | Leaves hidden rot in place if the removal doesn't go far enough to find it |
Most Kendall repair calls fall into the first two categories, but the only way to know which one you actually have is to open up the affected area and look, not to guess from the outside.
Cost Factors Worth Understanding
Repair estimates can vary widely for what looks like the same job on the surface, and the difference usually comes down to real scope, not padding.
| Factor | What It Affects |
|---|---|
| Extent of moisture intrusion | Whether the repair stays at the siding surface or extends into sheathing and framing |
| Flashing and drainage correction | Whether the actual cause gets fixed or just the visible symptom |
| Material match and availability | How closely the replacement blends with existing siding, especially on older or discontinued profiles |
| Wall height and access | Staging, ladder work, or lift access needed to reach the damaged area safely |
| Number of separate damage locations | Whether the job is one contained repair or several spread across the home |
A written estimate that itemizes what's being opened up, what's being corrected, and what's being replaced tells you far more than a flat number, and it's worth asking any contractor to walk through that breakdown before you compare bids.
How Our Process Works
We keep repair jobs straightforward because homeowners deserve to know what's actually being fixed and why.
- In-person inspection: We look at and physically probe the affected area in person, not from a photo, and identify the likely moisture source before quoting anything.
- Written scope and estimate: You get a clear breakdown of what will be opened up, what's being corrected, and what it will cost, before work starts.
- Careful removal and assessment: We remove only what's necessary to properly evaluate the damage, and we tell you immediately if we find something beyond the original scope.
- Correction, not just cosmetic replacement: Flashing, drainage, and sealing details get fixed as part of the repair, not treated as optional add-ons.
- Final walkthrough: We go over the completed repair with you so you know exactly what was done and what to watch for going forward.
A Practical Checklist Before You Hire a Siding Repair Contractor
- Do they physically inspect and probe the damage, or quote from a photo or drive-by?
- Does the estimate name the likely moisture source, not just the visible symptom?
- Is flashing and drainage correction explicitly included, or is it a straight material swap?
- Can they match your existing siding profile and finish closely?
- Do they carry current WA contractor licensing, liability insurance, and workers' compensation?
- Can they point to recent, real repair work in or near Kendall?
Signs a Kendall Home May Need Siding Repair
Siding damage rarely announces itself all at once. Catching it early is usually the difference between a contained repair and a much bigger job.
- Soft or spongy spots when pressed, especially near trim, windows, or the lower few feet of a wall
- Visible cracking, warping, or gaps at siding joints and seams
- Persistent moss, algae, or dark staining on shaded or north-facing walls
- Peeling paint or bubbling finish concentrated in one area rather than spread evenly
- Interior signs like a musty smell, staining, or soft drywall on a wall that backs up to a suspect exterior area
If you're seeing any of these on your Kendall home, it's worth having it looked at before the next stretch of wet weather rather than waiting for the damage to spread further behind the wall.
If you'd like an honest, no-pressure look at your Kendall home's siding and a written estimate to compare against anything else you've received, we're glad to come take a look. Use the form below to request a free estimate.