 Lynden Siding
 Why Birch Bay's Marine Climate Is Hard on Siding
Birch Bay sits right on the water, and that changes what siding has to survive compared to a home even a few miles inland in Lynden. Salt-laden air carries moisture and fine salt particles that settle on exterior surfaces year-round, not just during storms. Combine that with Whatcom County's long, wet winters and the driving rain that comes off the Strait, and you have a climate that tests every seam, joint, and fastener on a home's exterior almost daily.
Add in the region's long moss and algae season — cool, damp conditions that can persist for eight or nine months of the year in shaded, north-facing, or tree-lined lots common around Birch Bay — and siding here is under near-constant biological and moisture pressure. Products that hold up fine in a drier climate often show their weaknesses within a few years in a location like this.
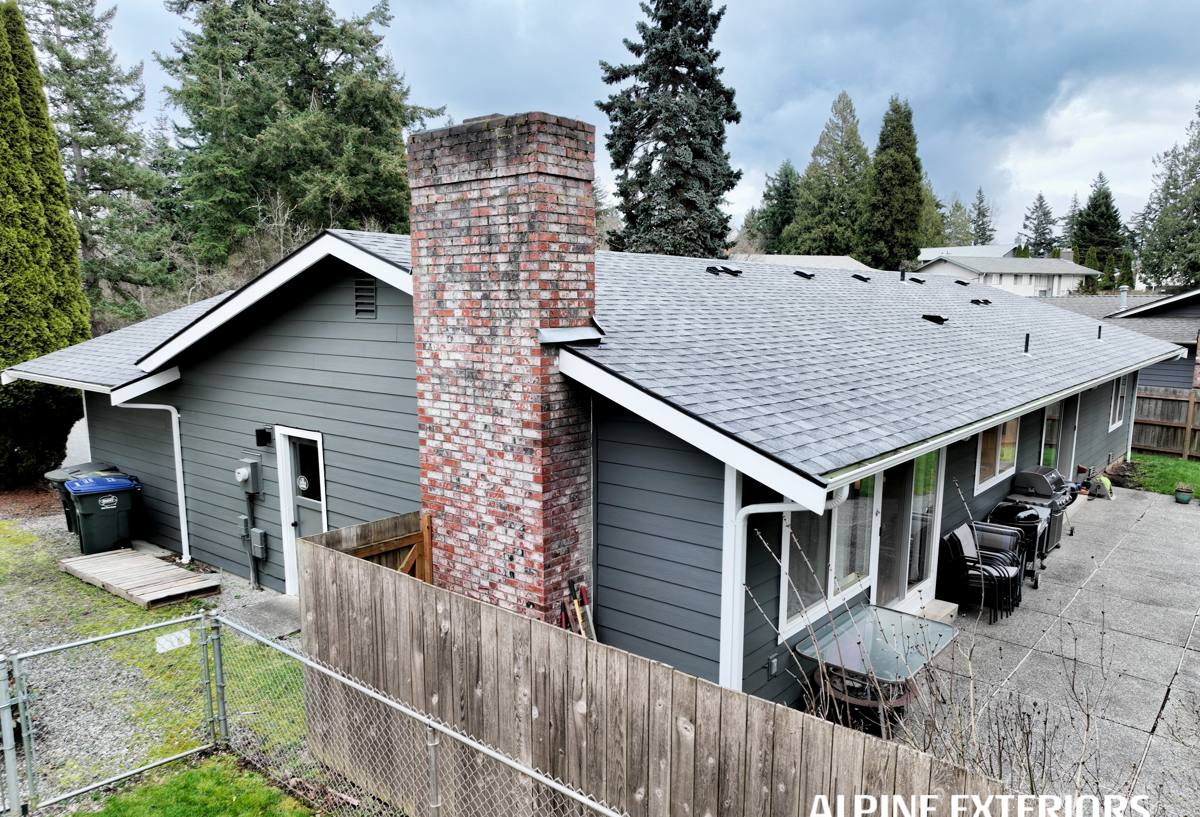
What Birch Bay Homes Actually Need From Their Siding
Given the exposure, siding for a Birch Bay home needs to do more than look good on installation day. It needs to:
- Resist moisture absorption at the panel and seam level, not just shed surface water
- Hold a factory finish that doesn't chalk, fade, or need repainting every few years in salt air
- Stay dimensionally stable through repeated wet-dry cycling without warping, cupping, or delaminating
- Resist moss and algae growth on shaded elevations and under eaves
- Be non-combustible, since wildfire smoke and ember exposure have become a broader regional concern in recent summers
This is the checklist we use to evaluate any siding product before it goes on a wall near the water, and it's the reason we install only one system.
Why We Install Only James Hardie Fiber Cement in Birch Bay
We don't install LP SmartSide, vinyl, Cemplank, Allura, or primed wood siding, and it's worth being upfront about why. Each of those products has legitimate strengths — vinyl is inexpensive and low-maintenance in mild climates, engineered wood products are lighter and easier to handle, and cedar has a natural look many homeowners love. But in a marine environment like Birch Bay, each carries trade-offs we're not willing to put our name behind: engineered wood siding is wood-based and vulnerable to swelling and edge deterioration if moisture gets past the finish; vinyl can become brittle and prone to cracking in freeze-thaw cycles and doesn't hold paint if a color change is ever wanted; and cedar requires an ongoing maintenance commitment — sealing, staining, and moisture monitoring — that most homeowners underestimate until the first signs of rot appear.
James Hardie fiber cement is cement-based, not wood-based, so it doesn't swell, rot, or feed insects the way wood products can. It's also non-combustible, which matters more each year as regional wildfire seasons intensify. We standardized on Hardie because it's the product we've seen perform correctly, for the longest time, under exactly the conditions Birch Bay throws at a house.
The Right Hardie Product Lines for This Location
James Hardie engineers its siding by climate zone, and homes on the water benefit from that specificity. For Birch Bay, we typically specify Hardie's HZ5 product line, engineered for regions with significant moisture exposure and freeze-thaw cycling — which describes this stretch of Whatcom County well.
ColorPlus Factory Finish
We steer homeowners toward Hardie's ColorPlus finish rather than field-applied paint whenever possible. The finish is baked on in a controlled factory environment, which gives it far better adhesion and UV/salt resistance than paint applied on-site after installation. It also carries its own finish warranty separate from the substrate warranty, and it means no repainting the whole house every five to seven years — a real advantage when a home is exposed to salt air.
Panel Profiles
Lap siding (HardiePlank) is the most common choice for Birch Bay homes, in both smooth and cedar-textured finishes. Shingle-style (HardieShingle) and panel systems (HardiePanel) also come up for accent areas, gables, or homes going for a specific architectural look. The right profile depends on the home's style and exposure, which we walk through during the estimate.
What a Correct Installation Actually Involves
Fiber cement siding is only as good as its installation. Most of the failures we get called out to inspect on other contractors' work trace back to installation shortcuts, not the product itself. In a high-moisture, salt-air location, these details matter more than usual:
- Proper water-resistive barrier and flashing behind every panel, with correct integration at windows, doors, and roof lines — this is the layer that actually keeps water out, not the siding itself
- Correct fastener placement and type — Hardie specifies fastener spacing, embedment depth, and corrosion-resistant fastener types, and getting this wrong is one of the most common causes of panel cracking or blow-off in windy, coastal conditions
- Proper clearance and gaps at the ground, roofline, and butt joints, per Hardie's published installation instructions, so panels can expand and contract without trapping moisture
- Caulked and sealed joints using a sealant compatible with fiber cement and rated for the exposure
- Correct starter strip and first-course setup so the bottom edge of the siding — the area most exposed to splash-back and standing moisture — sheds water instead of wicking it
Skipping or rushing any of these steps can void the manufacturer's warranty and shorten the real-world life of the siding significantly, even though the panels themselves are rated to last decades.
Our Process, From Estimate to Final Walkthrough
We keep the process straightforward and don't pressure homeowners into decisions on the spot.
- On-site assessment — we look at existing siding condition, moisture damage, exposure direction, and any moss or algae staining that points to problem areas
- Product and color selection — we walk through Hardie profiles and ColorPlus color options suited to the home's style and the coastal exposure
- Written estimate — scope, materials, and timeline laid out clearly before any commitment
- Removal and inspection of sheathing — once old siding comes off, we inspect for hidden rot or water damage before anything new goes up
- Water-resistive barrier and flashing installation — the step most homeowners never see, and the one that matters most
- Siding installation to manufacturer spec — correct fastening, gapping, and sealing throughout
- Final walkthrough — we go over the finished work with the homeowner before calling the job done
Cost Factors for a Birch Bay Fiber Cement Project
Every home is different, but these are the main factors that move the price of a fiber cement siding project in this area:
| Factor | Why It Matters |
|---|---|
| Home size and wall complexity | More corners, gables, and cutouts mean more labor and material waste |
| Existing siding removal and disposal | Tear-off adds labor and disposal costs versus new construction |
| Sheathing repair | Water-damaged sheathing found during removal must be replaced before new siding goes on |
| Panel profile and finish | Shingle-style and specialty trim cost more than standard lap siding |
| Access and site conditions | Waterfront lots, steep grades, or limited access can affect scaffolding and staging costs |
| Trim and accent work | Corner boards, frieze boards, and accent panels add material and detail labor |
We provide itemized, written estimates so homeowners can see exactly what's driving the number rather than a single lump-sum figure.
Living With Fiber Cement Siding in a Salt Air, Moss-Prone Climate
Correctly installed Hardie siding is low-maintenance, but "low-maintenance" isn't "no-maintenance," especially this close to the water. A little routine attention keeps it performing the way it's designed to:
- Rinse the siding annually to remove accumulated salt residue, especially on ocean-facing elevations
- Check and re-caulk joints and trim intersections every few years, since sealant wears out well before the siding does
- Trim back vegetation and tree cover where practical to reduce shaded, damp conditions that encourage moss and algae
- Inspect gutters and downspouts each fall so overflow doesn't run down and pool behind siding
- Watch for any soft spots, staining, or gaps at trim and flashing, which usually signal a sealant or flashing issue rather than a siding failure
Why Local Experience in Birch Bay Matters
A crew that mostly works drier, inland jobs doesn't always account for what a waterfront exposure does to flashing details, fastener choices, and finish selection. Working regularly in Birch Bay and along the rest of the Whatcom County coastline means we've seen how homes here actually age — where moss builds up first, which elevations take the worst of the driving rain, and which installation shortcuts show up as problems within a few years instead of a few decades. That local pattern recognition is part of what a homeowner is paying for, beyond just the labor of hanging panels.
If you're planning a siding project for a Birch Bay home, we're happy to take a look and put together a free, no-pressure estimate — no obligation, just a straight assessment of what your home needs.