 Lynden Siding
 New-Construction Windows for Abbotsford, BC Homes
Building a new home or a major addition in the Abbotsford area means one chance to get the windows right before the walls are closed up and the siding goes on. New-construction windows are installed differently than replacement windows — they're set directly into a framed rough opening, tied into the weather-resistive barrier, and flashed as part of the wall assembly rather than fitted into an existing frame. Get that sequence wrong and the mistake gets buried behind drywall and siding, where it won't show up as a problem for years.
We install new-construction windows for homes throughout the Lynden and Abbotsford area, working directly with builders, framers, and homeowners managing their own build. This page covers what the local climate asks of a new window install, how a correct job is sequenced, and what to look for whether you're comparing bids or checking a builder's work.
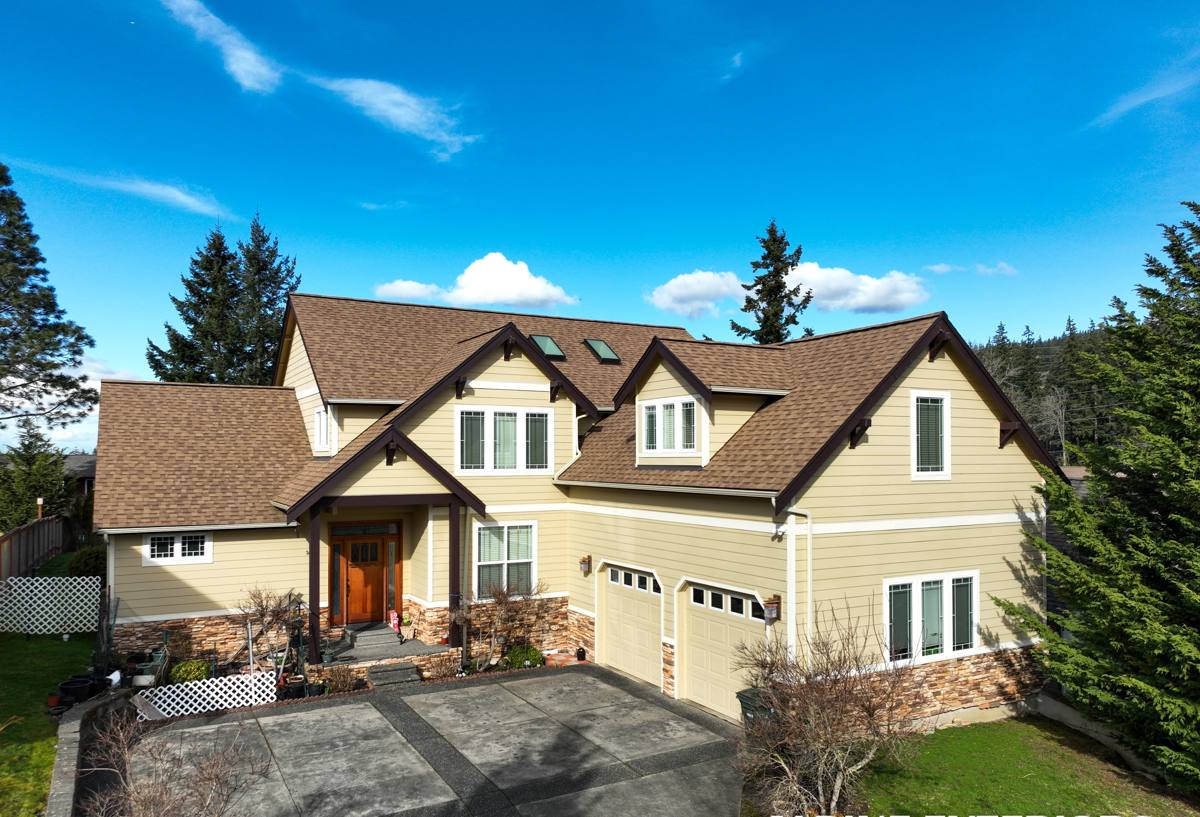
What This Climate Demands From a New Window Install
The Pacific Northwest climate around Lynden and Abbotsford isn't harsh in the way a hurricane zone is harsh — it's harsh in the way that wears things down slowly. Homes here deal with long stretches of driving rain, humid air that carries salt inland from the Strait of Georgia and Puget Sound, and a moss season that can run most of the year on north-facing and shaded walls. None of that damages a window on day one. It damages a window installation that wasn't sealed and flashed correctly, over the following five to ten years.
Driving Rain and Wind-Driven Moisture
Rain here rarely falls straight down. Wind pushes it sideways into wall assemblies, which means the water management details around a window opening matter more than the window unit itself. A window with a great energy rating and a poorly flashed rough opening will still leak.
Salt Air and Metal Components
Homes closer to the water deal with salt-laden air that accelerates corrosion on unprotected fasteners, hardware, and some flashing metals. It's a slower process inland toward Abbotsford, but it's still a factor worth accounting for in fastener and flashing choices, especially on homes with any coastal exposure.
Moss, Shade, and Sustained Moisture
Long moss season means extended periods where exterior surfaces near a window stay damp — trim, sills, and the siding-to-window transition especially. Moisture that lingers instead of drying quickly is exactly what turns a minor flashing gap into rot.
Getting the Installation Sequence Right
A correctly installed new-construction window depends on the order of operations as much as the window itself. Skipping a step, or doing them out of sequence, is the single biggest cause of window-related water intrusion in new builds.
Sill Pan Flashing First
Before the window ever goes in, the rough opening sill needs a sloped, sealed pan flashing so that any water that gets past the window has somewhere to go — out, not into the wall cavity. This is the step that gets skipped most often on rushed builds, and it's the one that causes the most damage later.
Integrating the Window With the Weather-Resistive Barrier
The housewrap or weather-resistive barrier on the wall needs to shingle-lap correctly with the window's flanges: barrier behind the sill flange, over the side flanges, and behind the head flange. Done in the wrong order, water runs behind the barrier instead of over it — a mistake you won't see until there's a stain on the drywall.
Head Flashing and Drainage Path
Above the window, a head flashing (and where called for, a drip cap) directs water out and away rather than letting it pool against the top of the frame. Given how much wind-driven rain this area sees, this detail isn't optional trim work — it's functional.
Nail Fin vs. Block Frame Windows
Most new-construction windows in wood-framed homes use a nailing fin that fastens directly to the sheathing, which is what the flashing sequence above is built around. Block frame (or "flush fin") windows are set differently and are more common on masonry or specific architectural details. Which type is correct depends on the wall assembly, not personal preference.
Choosing a Window Frame Material
New construction is the right time to think about frame material, because it's far cheaper to choose well now than to replace a window in ten years. There's no single correct answer — it depends on budget, sun exposure, and how much upkeep you want to take on.
| Frame Material | Upfront Cost | Maintenance | How It Handles This Climate |
|---|---|---|---|
| Vinyl | Lower | Minimal — no painting or sealing | Good moisture resistance; quality varies a lot between grades |
| Fiberglass | Mid to higher | Low | Very stable in wet, temperature-swinging conditions; holds paint well if color changes later |
| Wood-clad | Higher | Moderate — cladding protects wood, but seals need occasional attention | Attractive interior wood look; exterior cladding needs correct detailing to keep moisture out |
| Aluminum | Mid | Low, but prone to condensation without thermal breaks | Strong and slim-profile, but a poor thermal break performs badly in cold, damp winters |
We don't push one material on every job. We'll walk through what fits your budget, your home's design, and how much long-term upkeep you actually want to sign up for.
Our Process, Start to Finish
- Plan review. We look at rough opening sizes, wall assembly, and window schedule before anything is ordered, so sizing and flashing details are decided ahead of time.
- Material selection. We help you compare frame materials, glazing packages, and hardware based on your budget and the exposure of each elevation.
- Rough opening prep. Openings are checked for square, level, and correct dimension before flashing begins — fixing a framing issue now is far cheaper than after the window is set.
- Sill pan and flashing installation. Sloped sill pans, jamb flashing, and head flashing are installed in the correct shingle-lap sequence with the weather-resistive barrier.
- Window setting and fastening. Units are set plumb, level, and square, shimmed correctly, and fastened per manufacturer spec — over-fastening or under-shimming both cause long-term problems.
- Insulation and air sealing. The gap between the window frame and rough opening is sealed with an appropriate low-expansion product, not packed with whatever's on hand.
- Final integration with siding. Trim and siding are tied into the window flashing so water sheds correctly across the whole wall, not just around the window itself.
Common Mistakes We Catch on New Builds
Whether we're installing the windows ourselves or brought in to check another crew's work before siding goes on, these are the issues that show up most often:
- No sill pan flashing, or a flat one instead of sloped
- Housewrap installed over the nailing fin instead of properly shingle-lapped
- Windows fastened before they're checked for square, leading to operational problems later
- Spray foam used as the only air seal, with no backer rod or sealant at the exterior joint
- Missing or undersized head flashing above the window
- Trim installed tight against the siding with no drainage gap or weep path
Any one of these is fixable before the wall is closed in. Almost none of them are fixable — without tearing into finished walls — once the house is done.
Energy Performance and Code Requirements
New-construction windows also need to meet the energy code that applies to your project, which typically means specific U-factor and solar heat gain requirements depending on orientation and climate zone. Most homes in this area do well with double-pane, low-E glazing and an argon fill; some builds call for triple-pane units on north- or west-facing walls for extra performance. We'll confirm what your local code requires and what makes sense for your specific design rather than defaulting to the minimum.
Why Local Installation Experience Matters
Window flashing isn't installed in isolation — it has to work with whatever siding, trim, and weather barrier system is going on the rest of the house. Because we install both siding and windows on new builds throughout the Lynden and Abbotsford area, we're not guessing at how those systems need to tie together. We've seen how this region's driving rain finds gaps, how moss season keeps shaded walls damp longer than homeowners expect, and where salt-influenced air pushes us toward more corrosion-resistant fasteners and flashing. That's the kind of detail that only comes from working this specific climate, on this specific type of build, over and over.
It also matters for coordination. New construction moves fast, and window installation sits on the critical path between framing and siding. A crew that already understands the sequence, and is used to working alongside local builders and inspectors, keeps your schedule moving instead of creating a bottleneck.
Get a Free, No-Pressure Estimate
If you're planning a new build or addition in the Abbotsford or Lynden area and want windows installed right the first time, we're glad to walk through your plans and give you an honest, no-pressure estimate. Use the form below to get started.