 Lynden Siding
 Building New in Birch Bay Means Building for the Water
Birch Bay sits right on the Salish Sea, and that location shapes everything about how a new home's windows should be installed. Salt-laden air corrodes unprotected metal faster than it would a few miles inland. Wind-driven rain off the water doesn't fall straight down — it hits window openings sideways, which means ordinary vertical water-shedding assumptions don't hold up. And the long, damp Whatcom County shoulder seasons keep siding and trim wet for weeks at a time, which is exactly the kind of environment moss and mildew need to take hold around window perimeters. None of this is exotic knowledge to anyone who's worked construction in this corner of Washington, but it does mean a new-construction window installation here has to be treated differently than the same job in a drier, more sheltered part of the state.
When we install windows during new construction in Birch Bay, we're not just setting glass in a hole in the wall. We're building a water management system around every opening, one that has to perform for decades under conditions that are actively working against it.
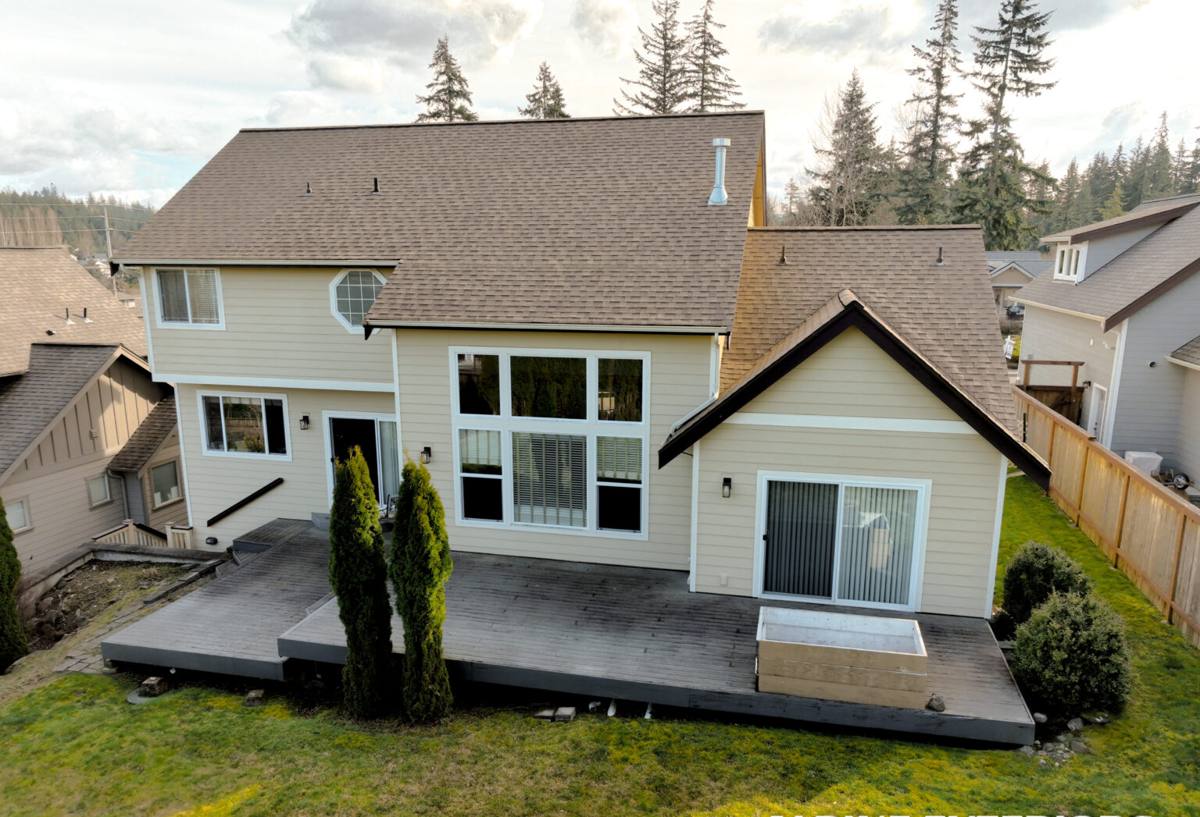
New-Construction Windows vs. Replacement: Why the Distinction Matters
"New-construction" windows are installed before the siding goes on, with a nailing fin (sometimes called a flange) that gets fastened directly to the sheathing and integrated into the home's weather-resistive barrier before trim and cladding cover it up. This is different from a replacement or "pocket" installation, where a window is fitted into an existing frame after the siding is already in place.
The advantage of new construction is access — we can flash the opening correctly from the framing outward, in the proper sequence, with nothing in the way. That's a real opportunity, but it only pays off if the sequencing and materials are right. A new-construction window installed with shortcuts is arguably more vulnerable long-term than a well-done replacement window, because a flange that isn't properly integrated into the water-resistive barrier gives water a direct path behind the siding.
What a Correct New-Construction Installation Includes
- Rough opening checked for level, plumb, and square before the window ever goes in
- Sill pan flashing installed first, sloped to drain water back outward, not into the wall cavity
- Weather-resistive barrier lapped correctly at the top, so water always sheds over the layer below it, never behind it
- Window set, shimmed, and fastened per the manufacturer's instructions — not just "close enough"
- Nailing fin sealed and taped to the WRB on the sides and top, with the bottom left to drain
- Interior and exterior sealant applied at the right points — not everywhere, since sealing the wrong spots can trap water instead of releasing it
- Head flashing or drip cap added above the window before siding closes it in
Flashing and Water Management for a Coastal Exposure
This is the part of the job that decides whether a window opening lasts 30 years or starts leaking in five. In a driving-rain, salt-air environment like Birch Bay, we pay particular attention to a few details that get skipped more often than they should:
Sill Pan Flashing
Every new-construction window we install gets a sloped sill pan, not just a flat strip of tape across the bottom of the opening. Wind-driven rain will find its way past the window frame eventually — that's true of any window, any brand. The sill pan's job is to catch that water and route it back out to the exterior before it ever reaches the framing.
Sequencing, Not Just Materials
Good flashing tape and a good WRB won't save a job if they're installed out of order. Water has to be directed downward and outward at every layer — sill first, then jambs, then head, with each layer overlapping the one below it like shingles. We follow this sequence on every opening, not just the ones facing the water.
Corrosion-Resistant Fasteners and Hardware
Salt air accelerates corrosion on standard fasteners and window hardware. We use fasteners and flashing components rated for coastal or high-moisture exposure, especially on homes closer to the water, so the hardware isn't the first thing to fail.
Choosing Window Products That Hold Up Here
Not every window on the market is a good fit for a coastal Whatcom County exposure. Frame material, glazing, and hardware all affect how a window handles salt air, sustained moisture, and temperature swings between damp winters and warmer summer days.
| Frame Material | Coastal Performance | Maintenance Consideration |
|---|---|---|
| Vinyl | Good moisture and corrosion resistance; won't rust or rot | Low maintenance; keep weep holes clear of salt residue and debris |
| Fiberglass | Very stable in temperature swings and moisture; strong long-term coastal track record | Low maintenance; occasional cleaning of exterior finish |
| Wood (clad or unclad) | Vulnerable to moisture intrusion at joints and finish failure if not maintained | Higher maintenance; requires regular finish upkeep and prompt attention to any exposed wood |
| Aluminum | Prone to corrosion and thermal transfer unless it has a marine-grade coating | Moderate maintenance; watch for pitting or coating breakdown near the coast |
We're upfront with homeowners about these trade-offs. A wood window can look great and perform fine if it's properly clad and maintained, but in a Birch Bay exposure it demands more upkeep than a vinyl or fiberglass unit. We'll walk through the honest maintenance expectations for whatever product you're considering rather than just pushing whatever's easiest for us to install.
Glazing and Seals
Double-pane, low-E glazing with argon fill is a reasonable baseline for this climate — it helps with both energy performance and condensation control on the cooler, wetter days that are common much of the year here. We also check that gasket and weatherstripping systems are rated for the temperature range and won't go brittle prematurely under repeated wet-dry cycling.
Our Installation Process
On a new-construction project in Birch Bay, our process generally runs like this:
- Rough opening inspection — we verify framing dimensions, level, plumb, and square before scheduling window delivery, so problems get caught before a window is on-site rather than after.
- Sill pan and flashing installation — sloped sill pans and properly sequenced flashing tape at every opening, done before the window is set.
- Window setting — windows are shimmed, leveled, and fastened to manufacturer specification, with reveal checked for even, consistent sightlines.
- Flange integration — nailing fins are taped and integrated into the weather-resistive barrier in the correct shingle-lap order.
- Head flashing — drip caps or head flashing installed above each opening before siding closes the wall.
- Final seal and walkthrough — interior air sealing, exterior sealant at appropriate points only, and a check of operation, locks, and screens before we consider the opening finished.
We coordinate directly with the builder or general contractor on timing, since window installation has to land at the right point in the build sequence — after sheathing and WRB, before siding. Getting that sequencing wrong is one of the most common causes of coastal water intrusion problems we see in new builds.
Why Local Experience in Birch Bay Matters
A crew that's only worked inland construction can install a window perfectly well by the book and still miss the details that matter on the water. Wind direction and intensity off the Salish Sea, how far a home sits from the shoreline, prevailing exposure on a given lot, and how quickly moss establishes on north-facing trim in this part of Whatcom County — these are things you learn by working here repeatedly, not from a manufacturer's install manual alone.
We work new-construction and remodel projects throughout the Lynden and greater Whatcom County area, including Birch Bay, and we bring that regional experience to every opening we flash. That means knowing which exposures on a lot need extra attention, which products have held up well locally over time, and where to spend a little more care up front so the homeowner isn't dealing with a water intrusion problem five or ten years down the road.
What to Watch For Once Windows Are In
Even a correctly installed window benefits from basic seasonal attention in a salt-air, moss-prone environment. A short checklist worth keeping:
- Clear debris and moss buildup from window sills, tracks, and weep holes each fall and spring
- Rinse salt residue off exterior frames periodically, especially on sides facing the water
- Check exterior caulking annually for cracking or gaps, particularly at the top corners of each window
- Watch for soft spots, discoloration, or bubbling paint on interior trim, which can signal a slow leak worth investigating early
- Keep gutters and downspouts clear so roof runoff isn't sheeting down across window heads
Catching a small issue during a seasonal check is far less costly than discovering a hidden leak after it's damaged framing or sheathing.
Getting Started
If you're building new in Birch Bay or planning a project nearby, we're happy to walk the site, talk through window and framing details specific to your lot's exposure, and give you an honest read on what the job actually requires. Reach out for a free, no-pressure estimate using the form below.